Welcome to Flood Packs

Getting Started
Flood Packs are built to go the distance—wherever you’re headed.
Here are a few easy tips to help you get the most out of your new pack.
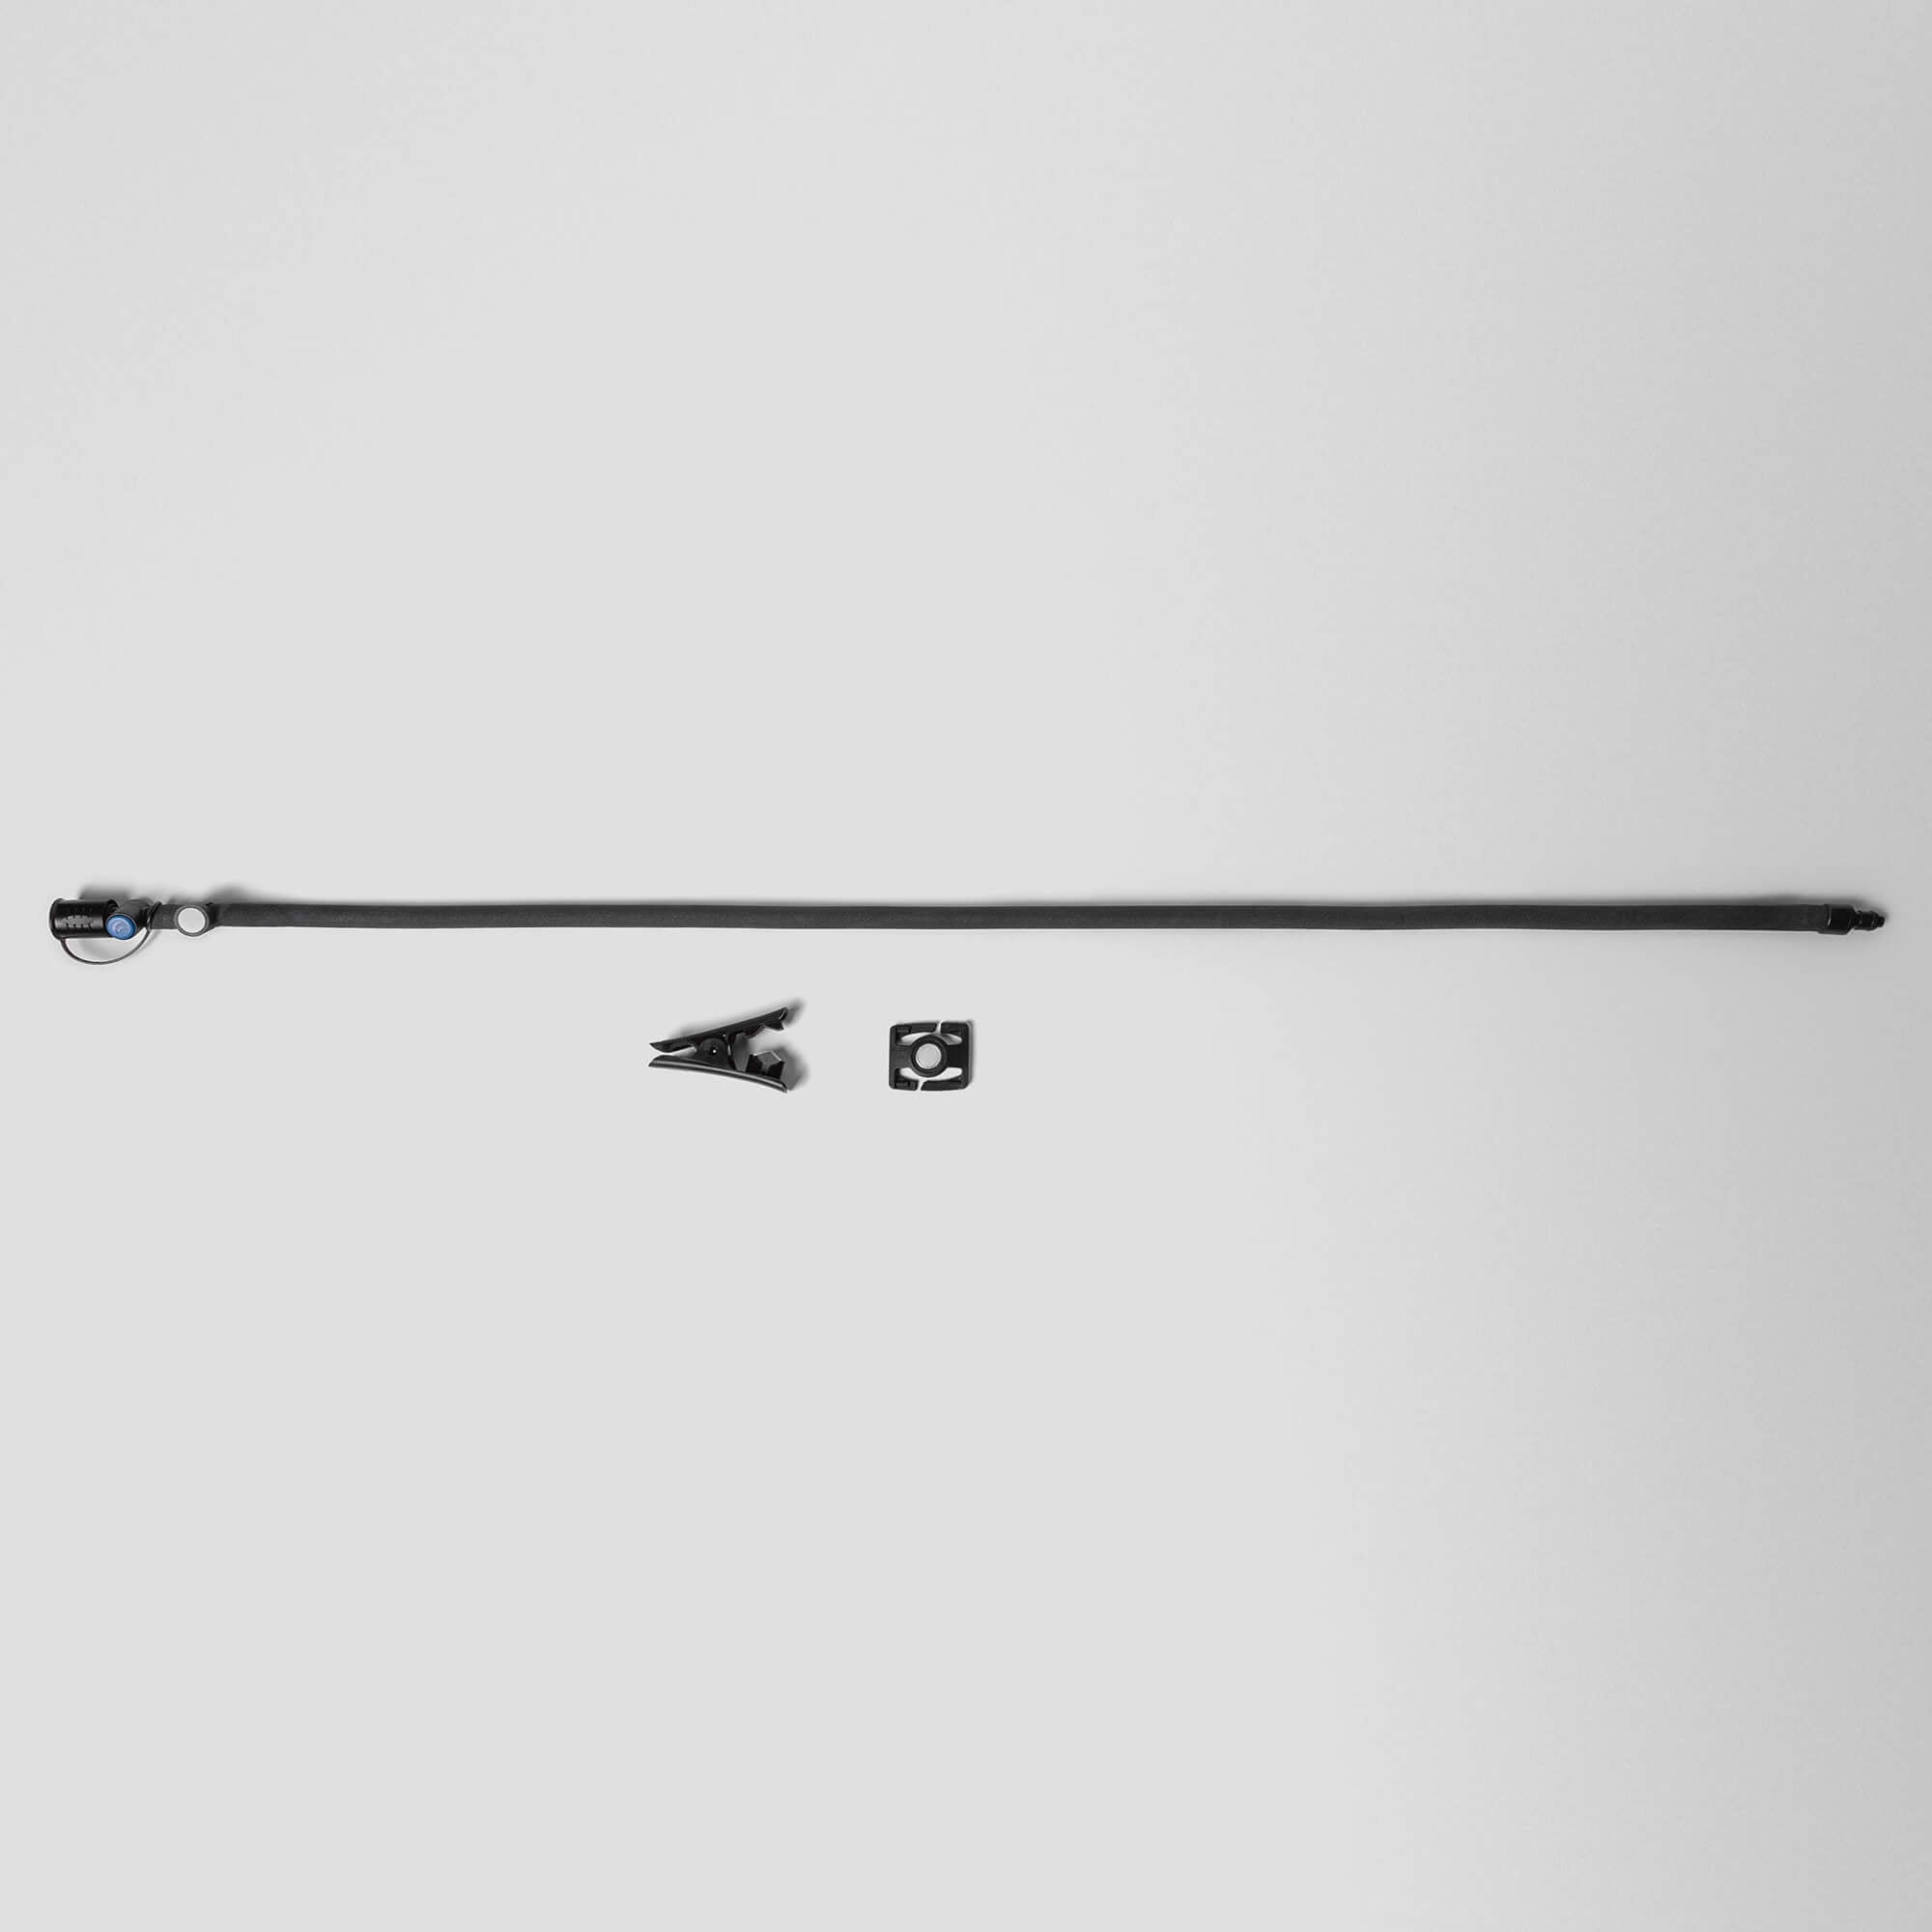
The Parts
The Basics
Filling the Bladder
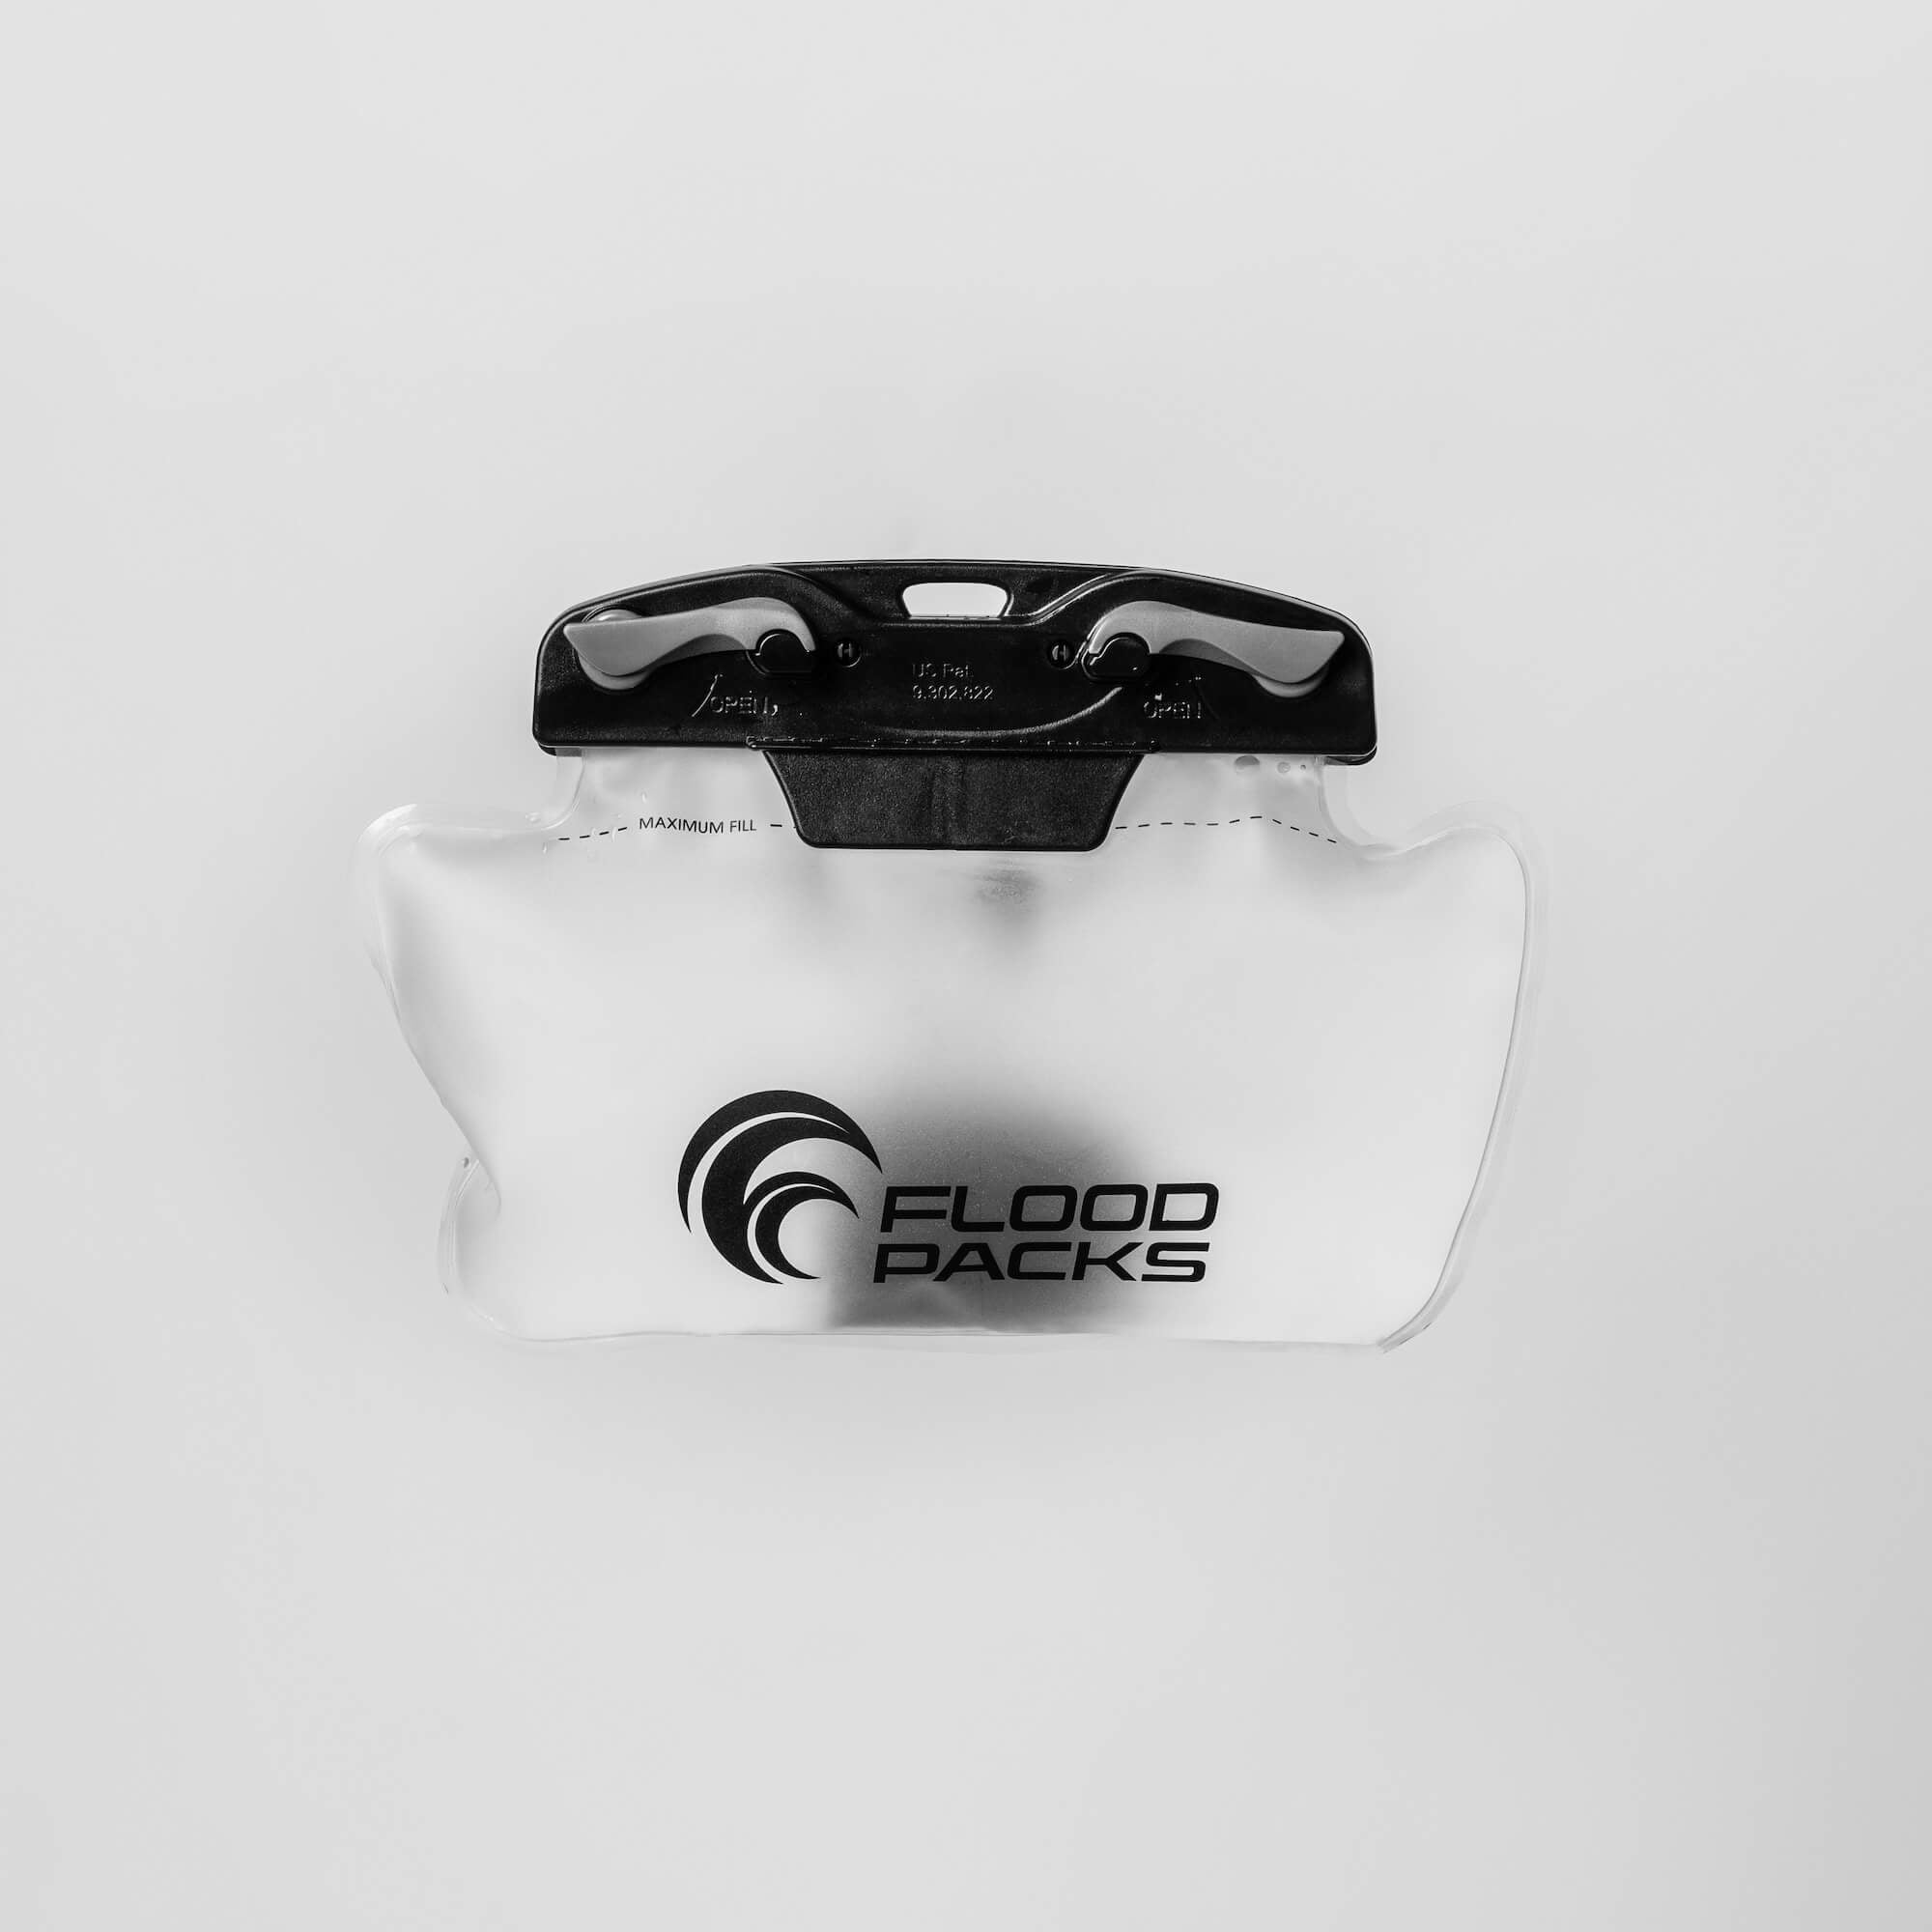
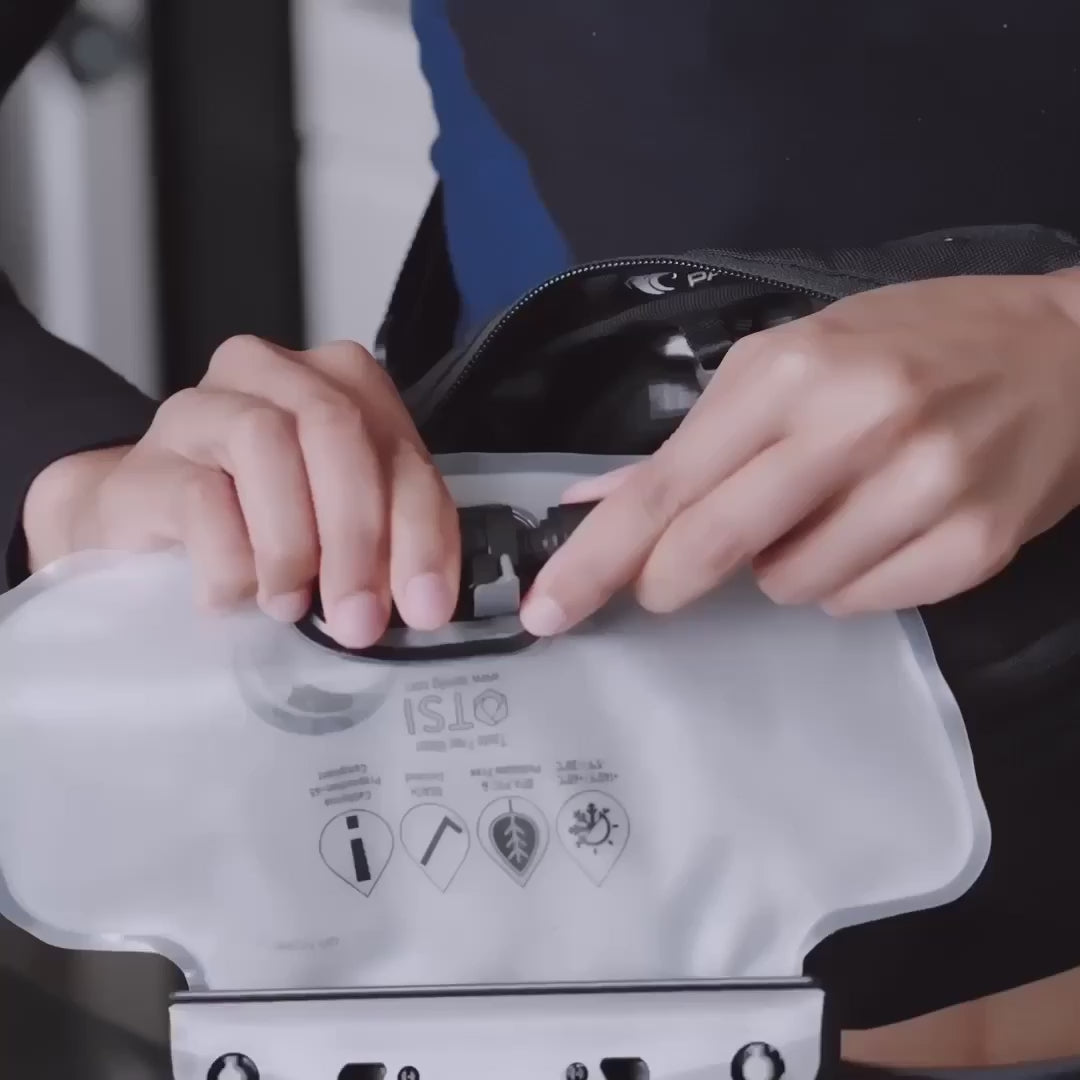
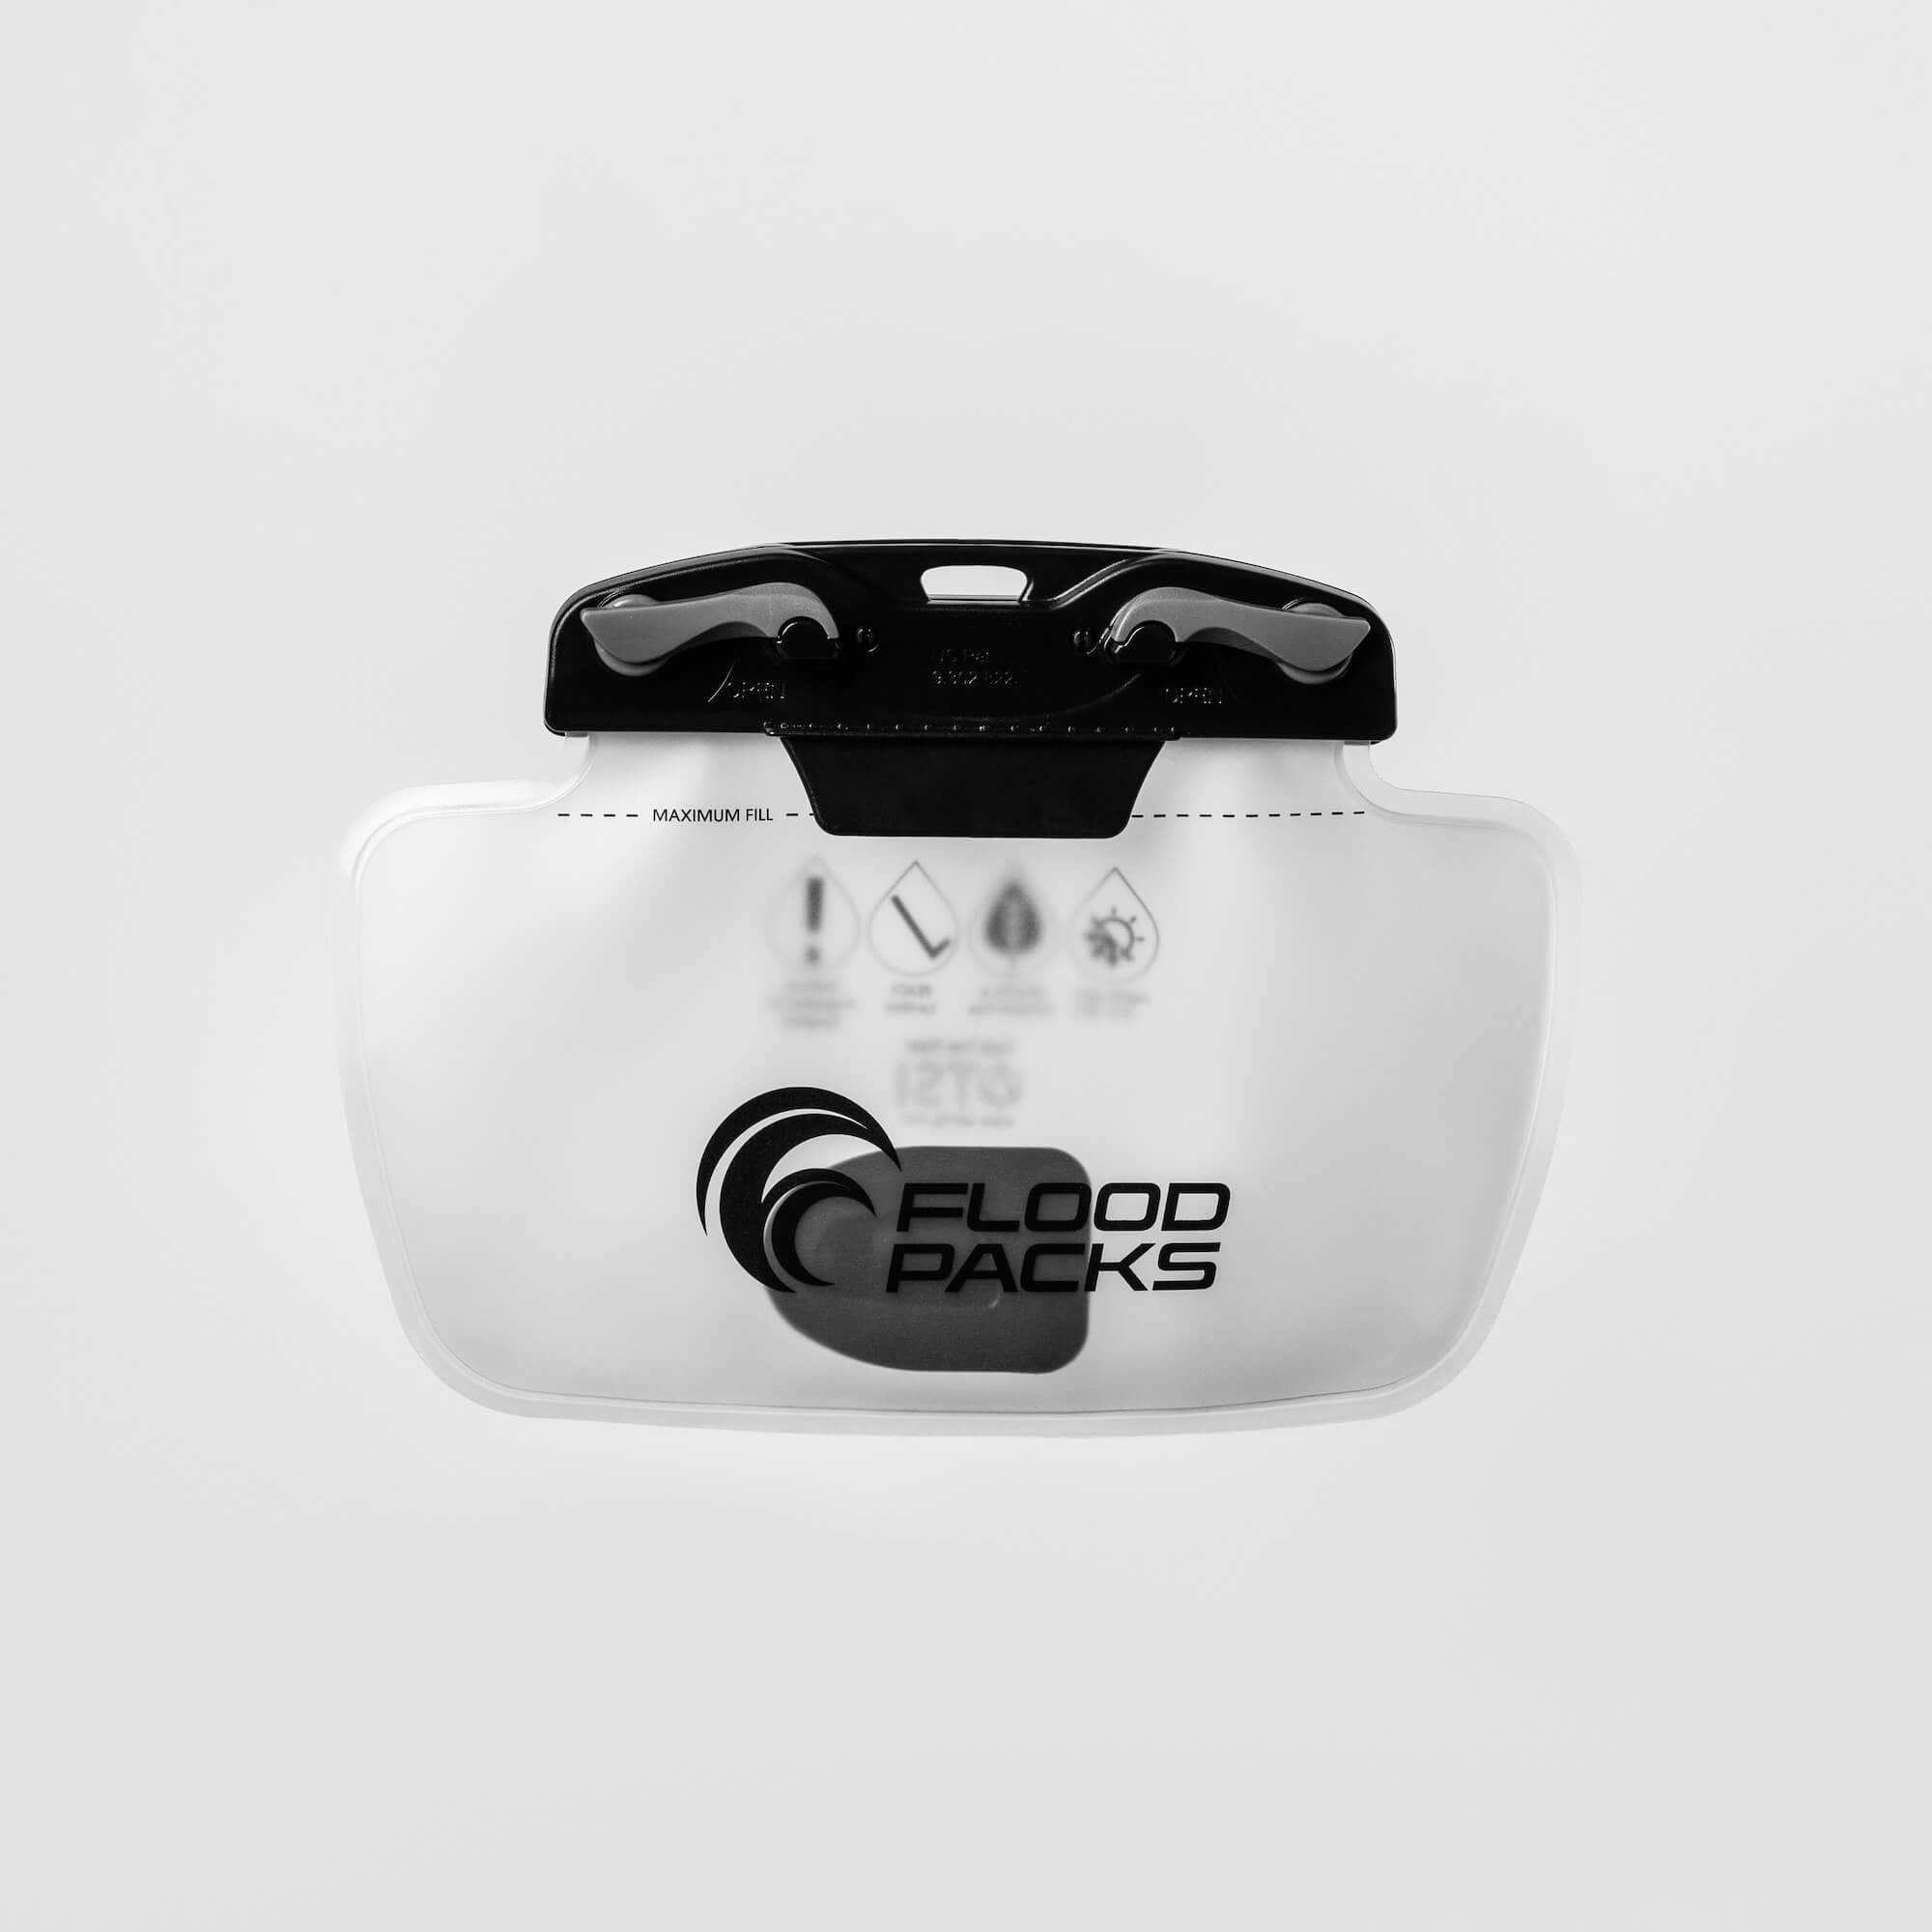
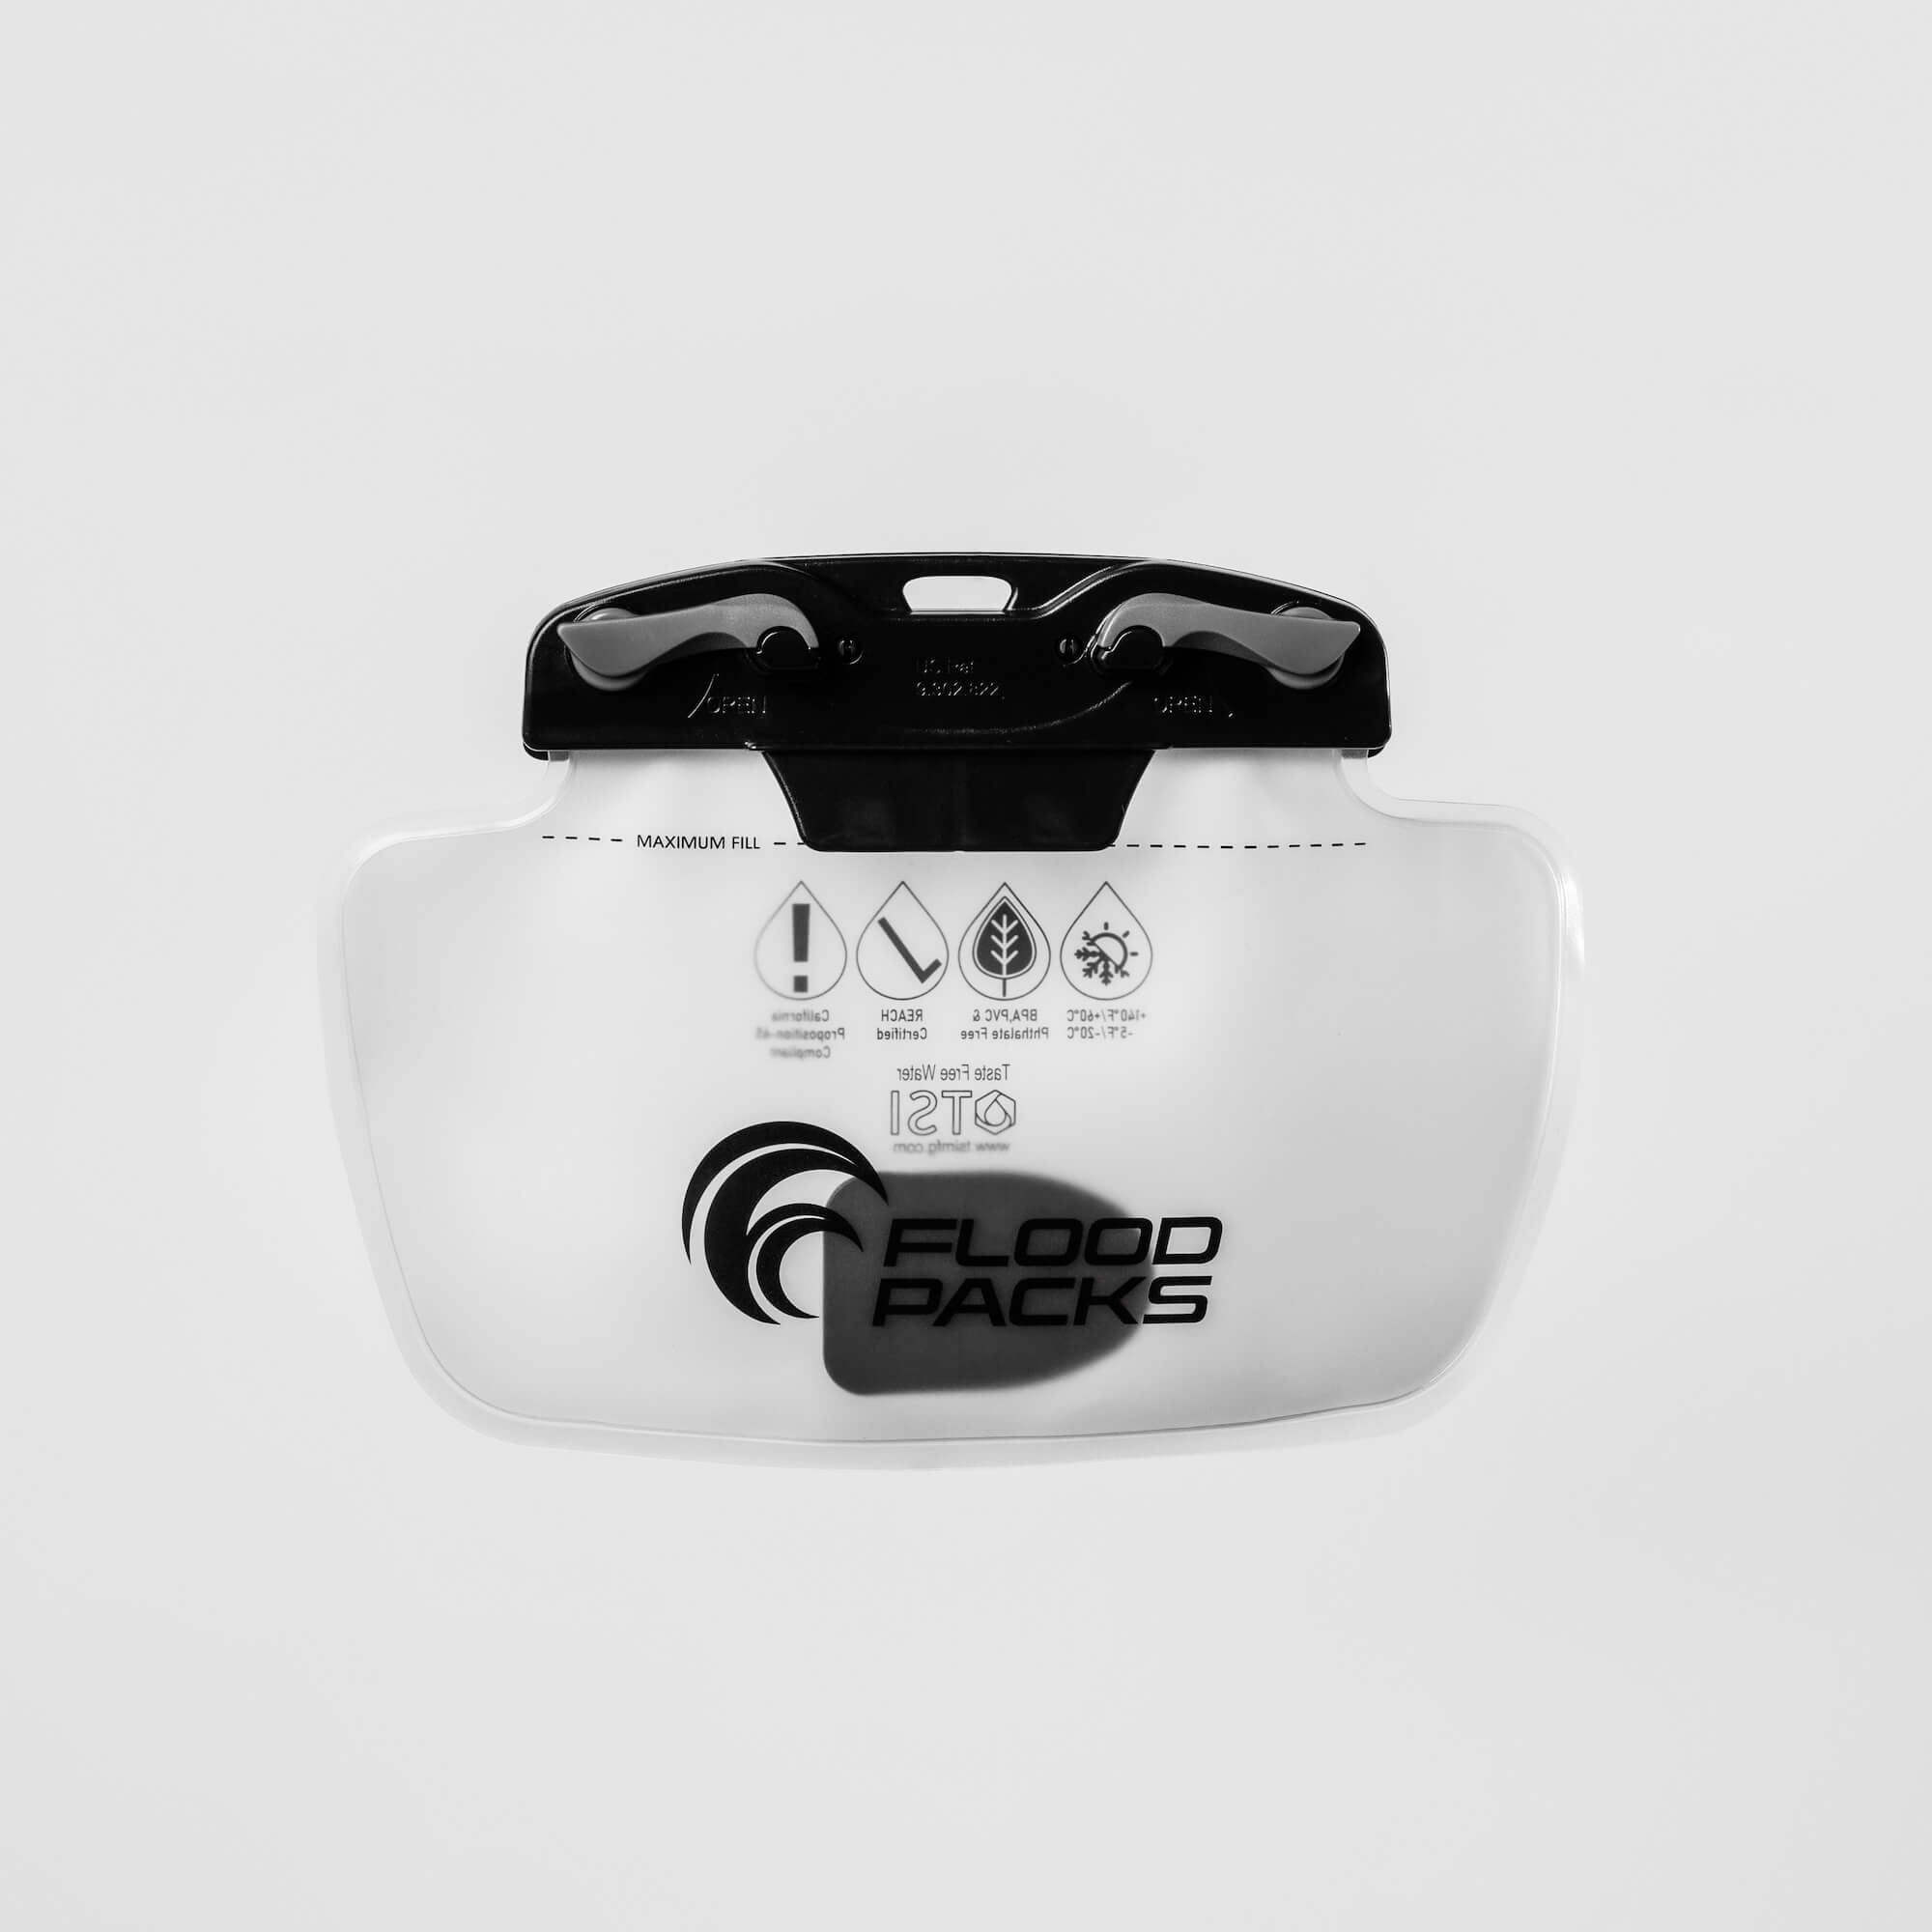
Open the bladder by unlocking both clasps, then pull the locking mechanism apart from the middle.
After filling, line up the clasps and pinch from the center to close, then lock both clasps again.
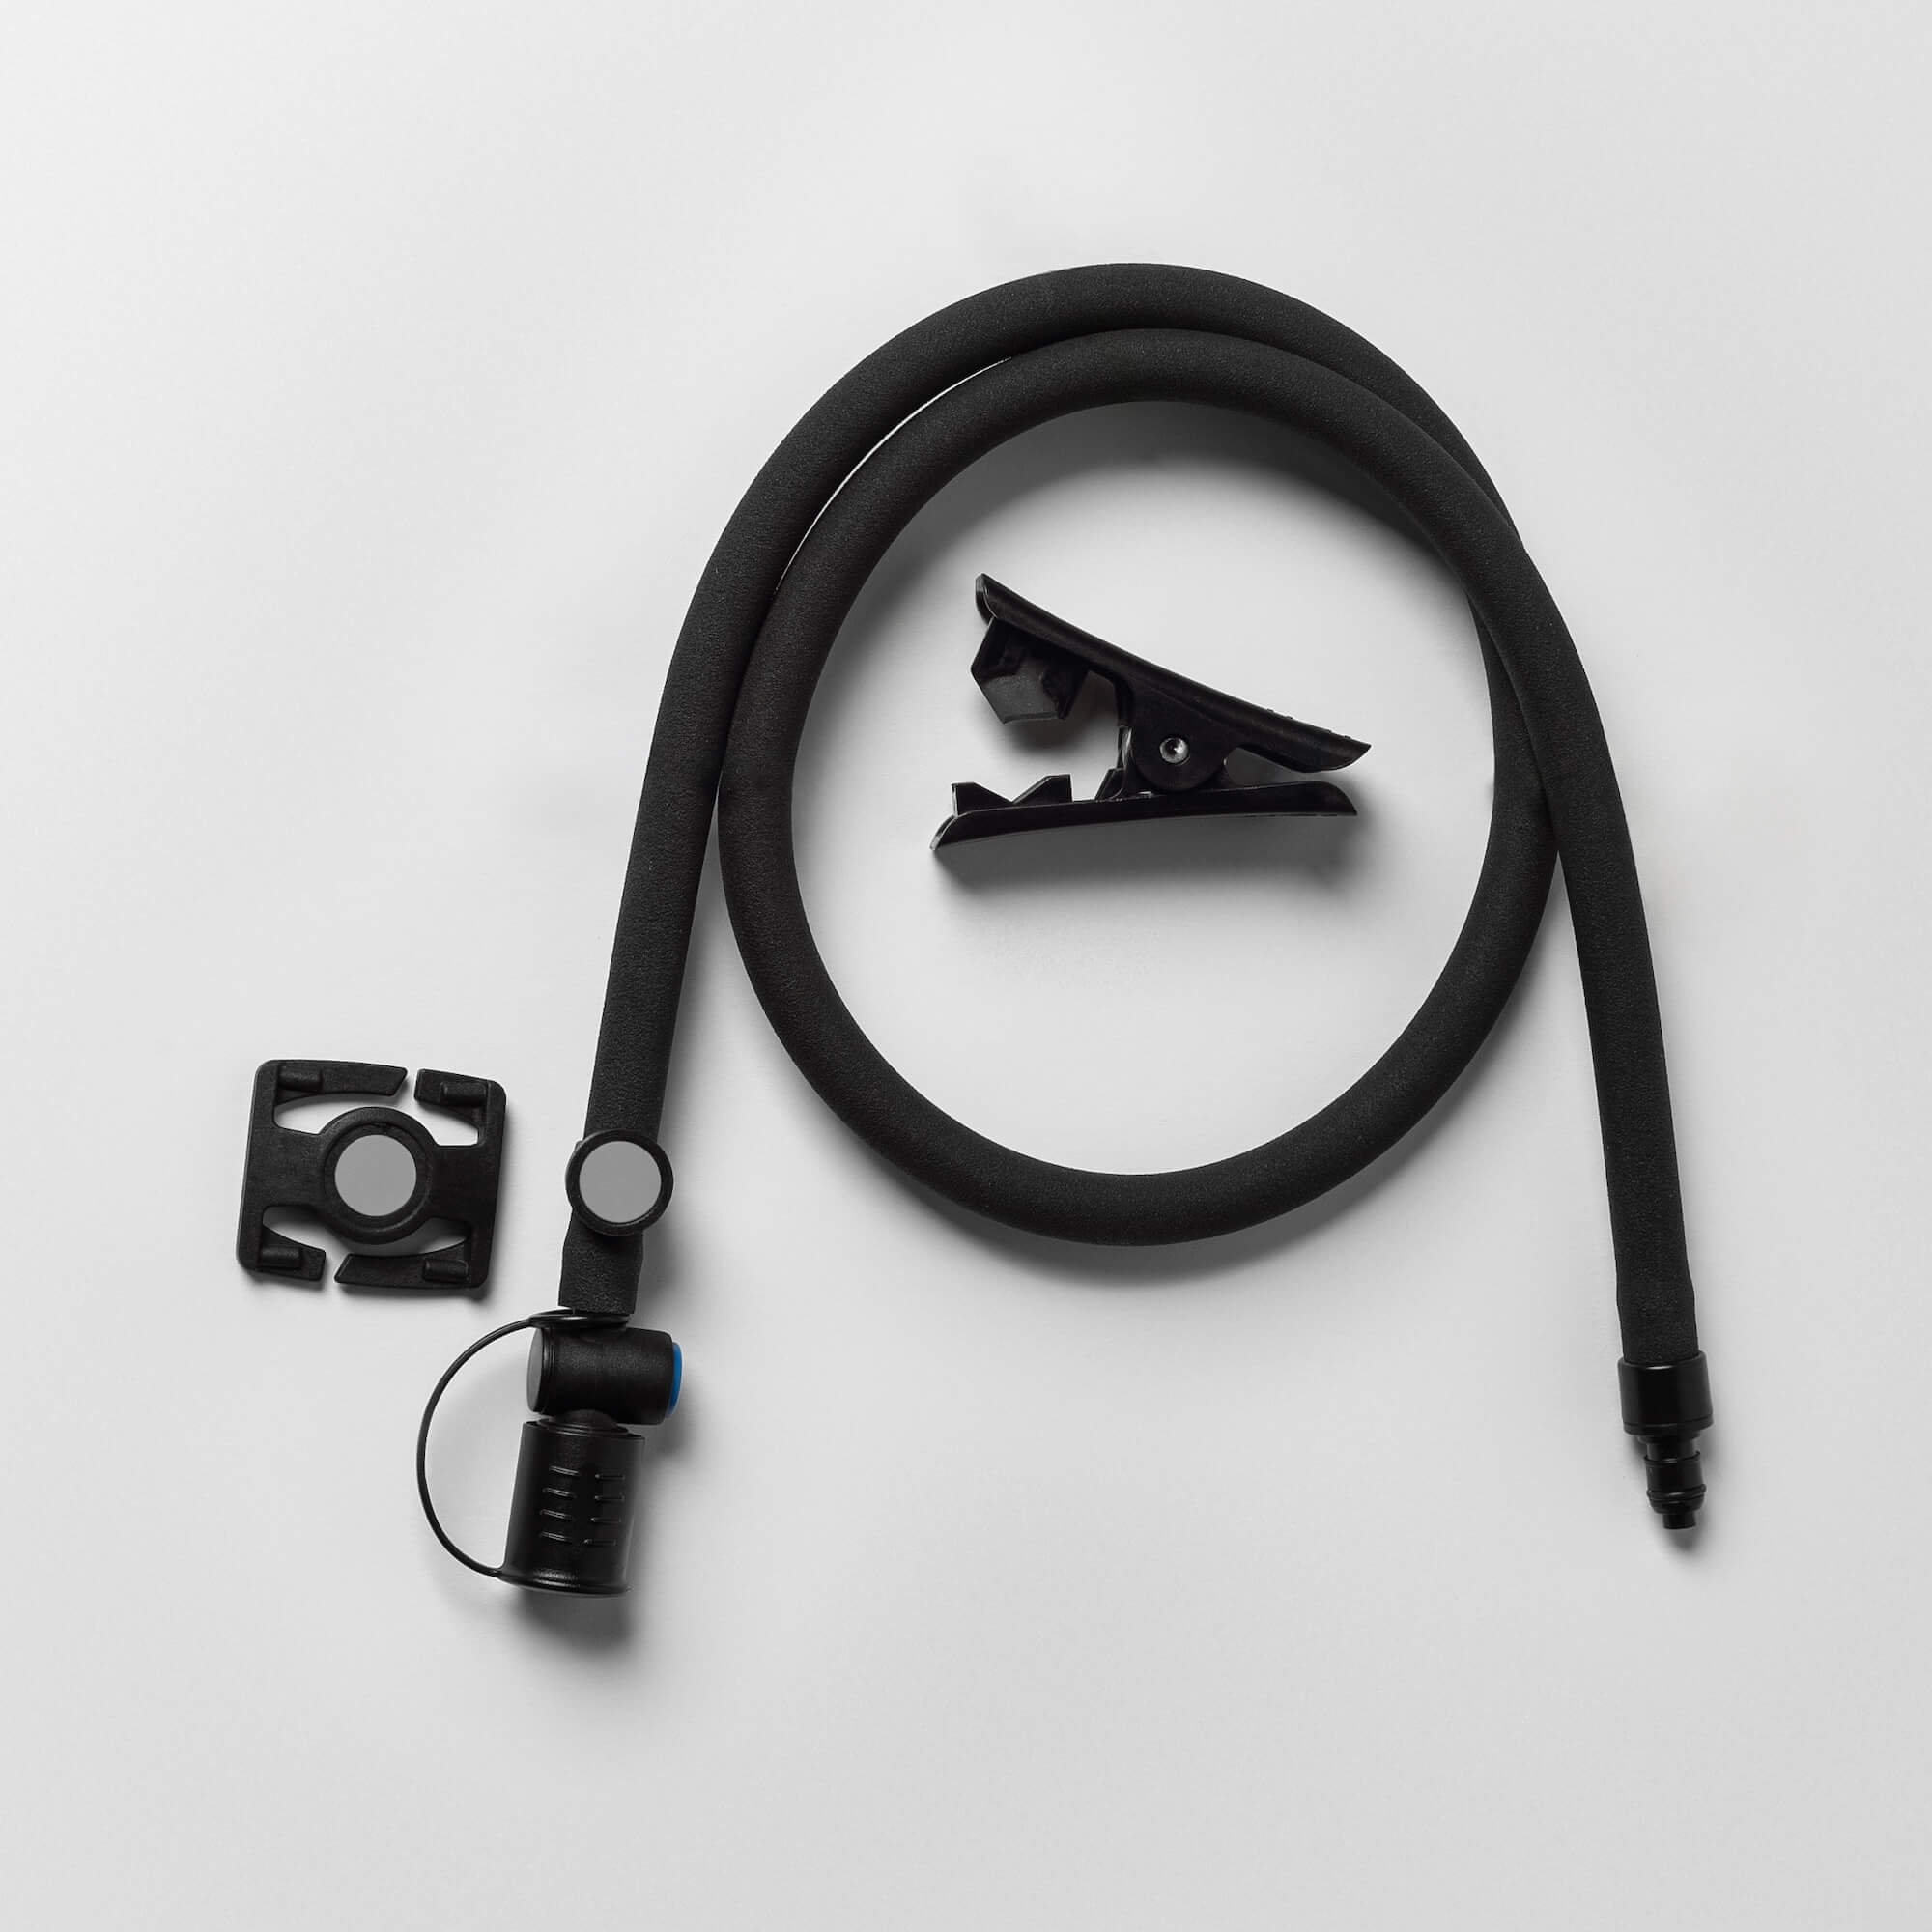
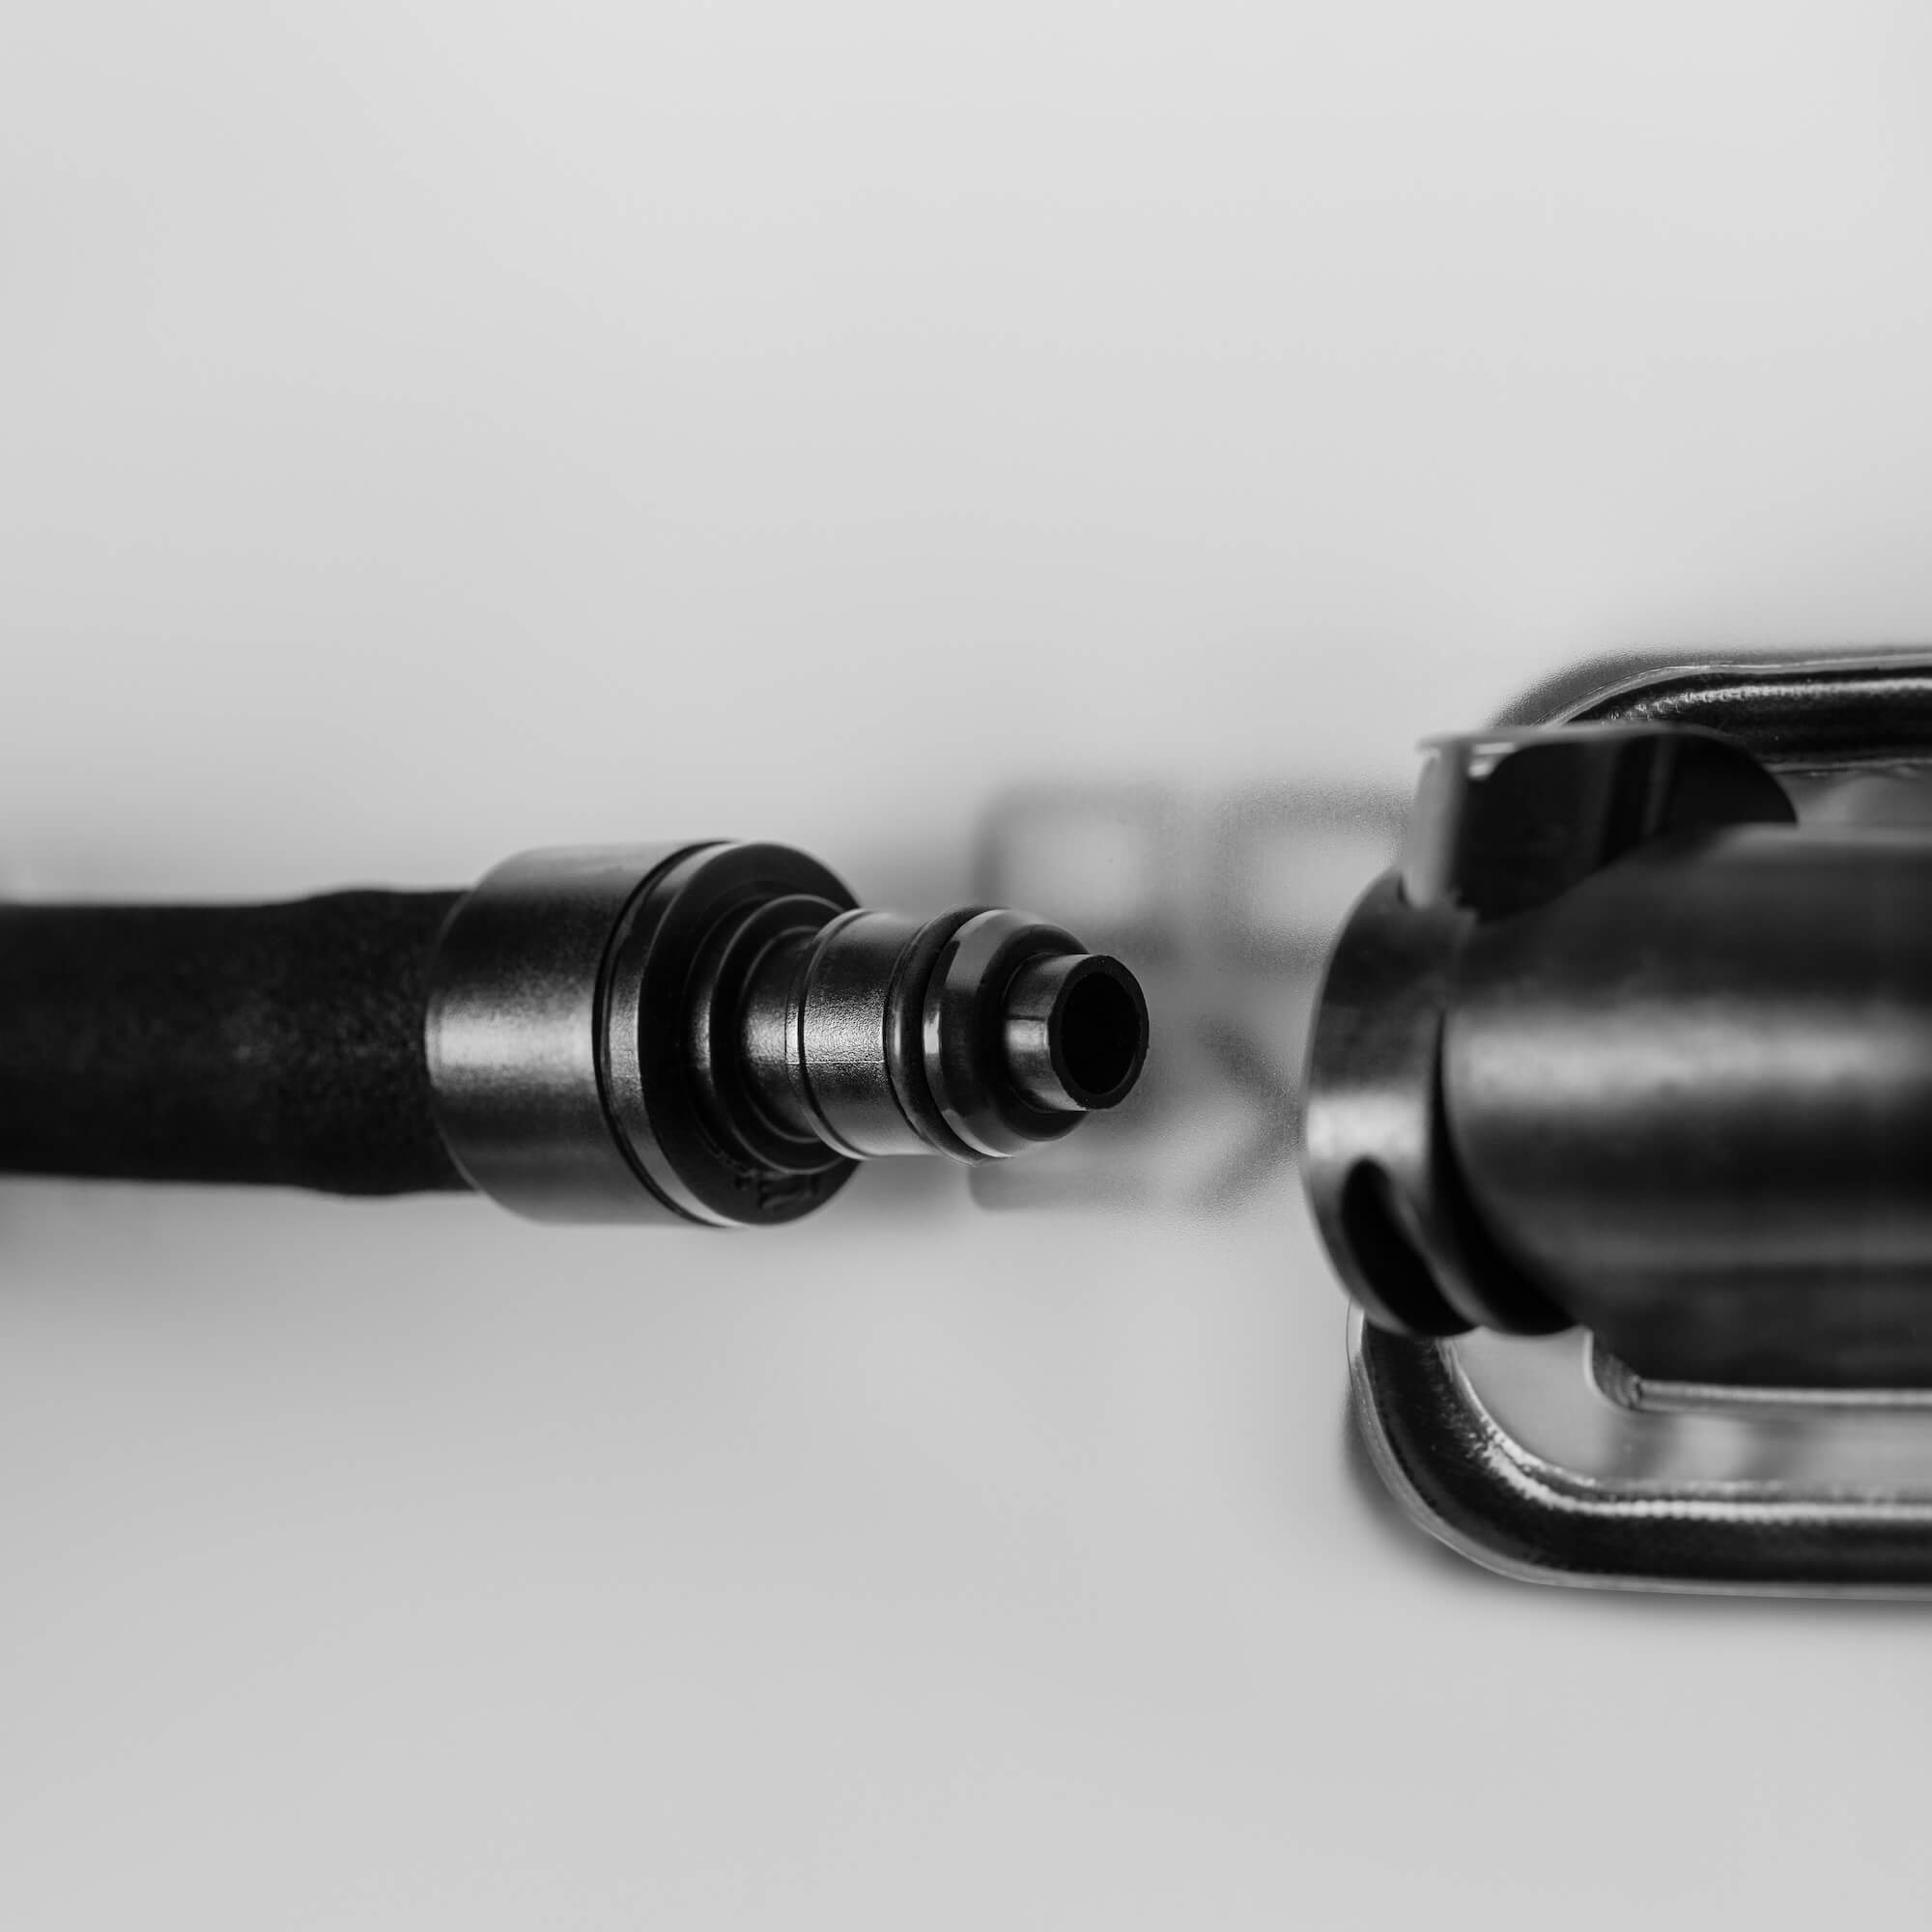
Connecting the Hose
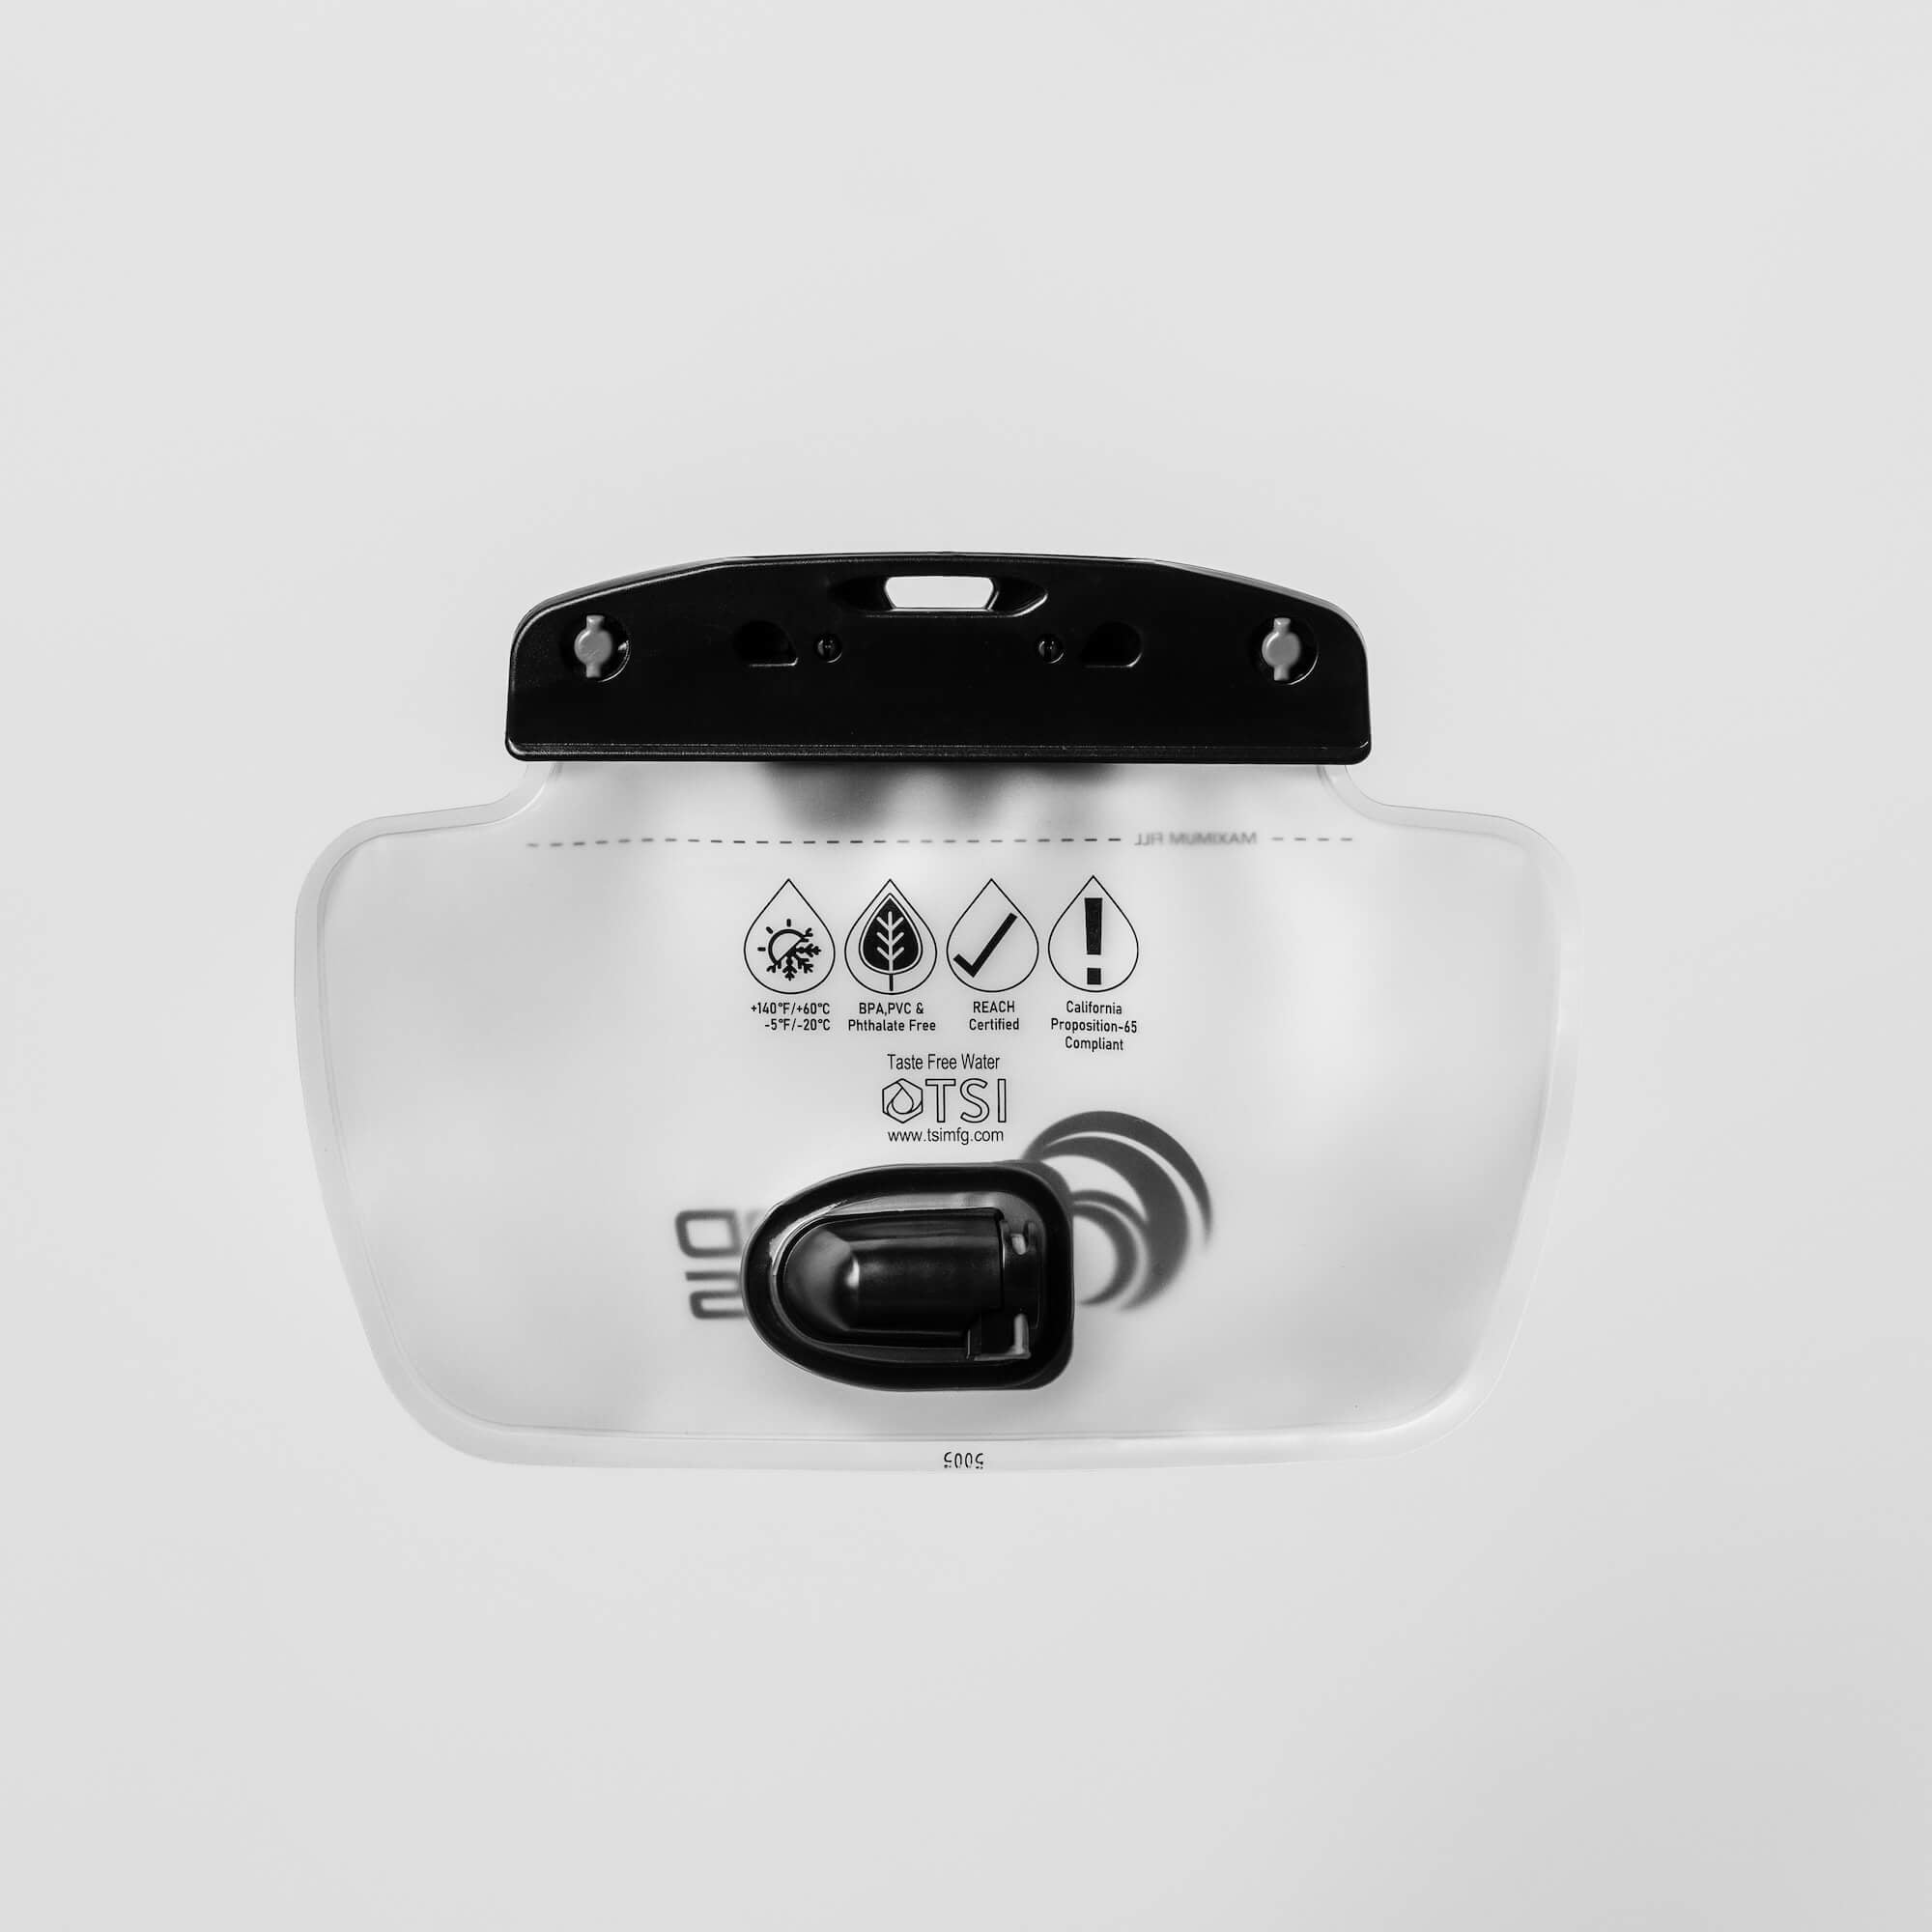
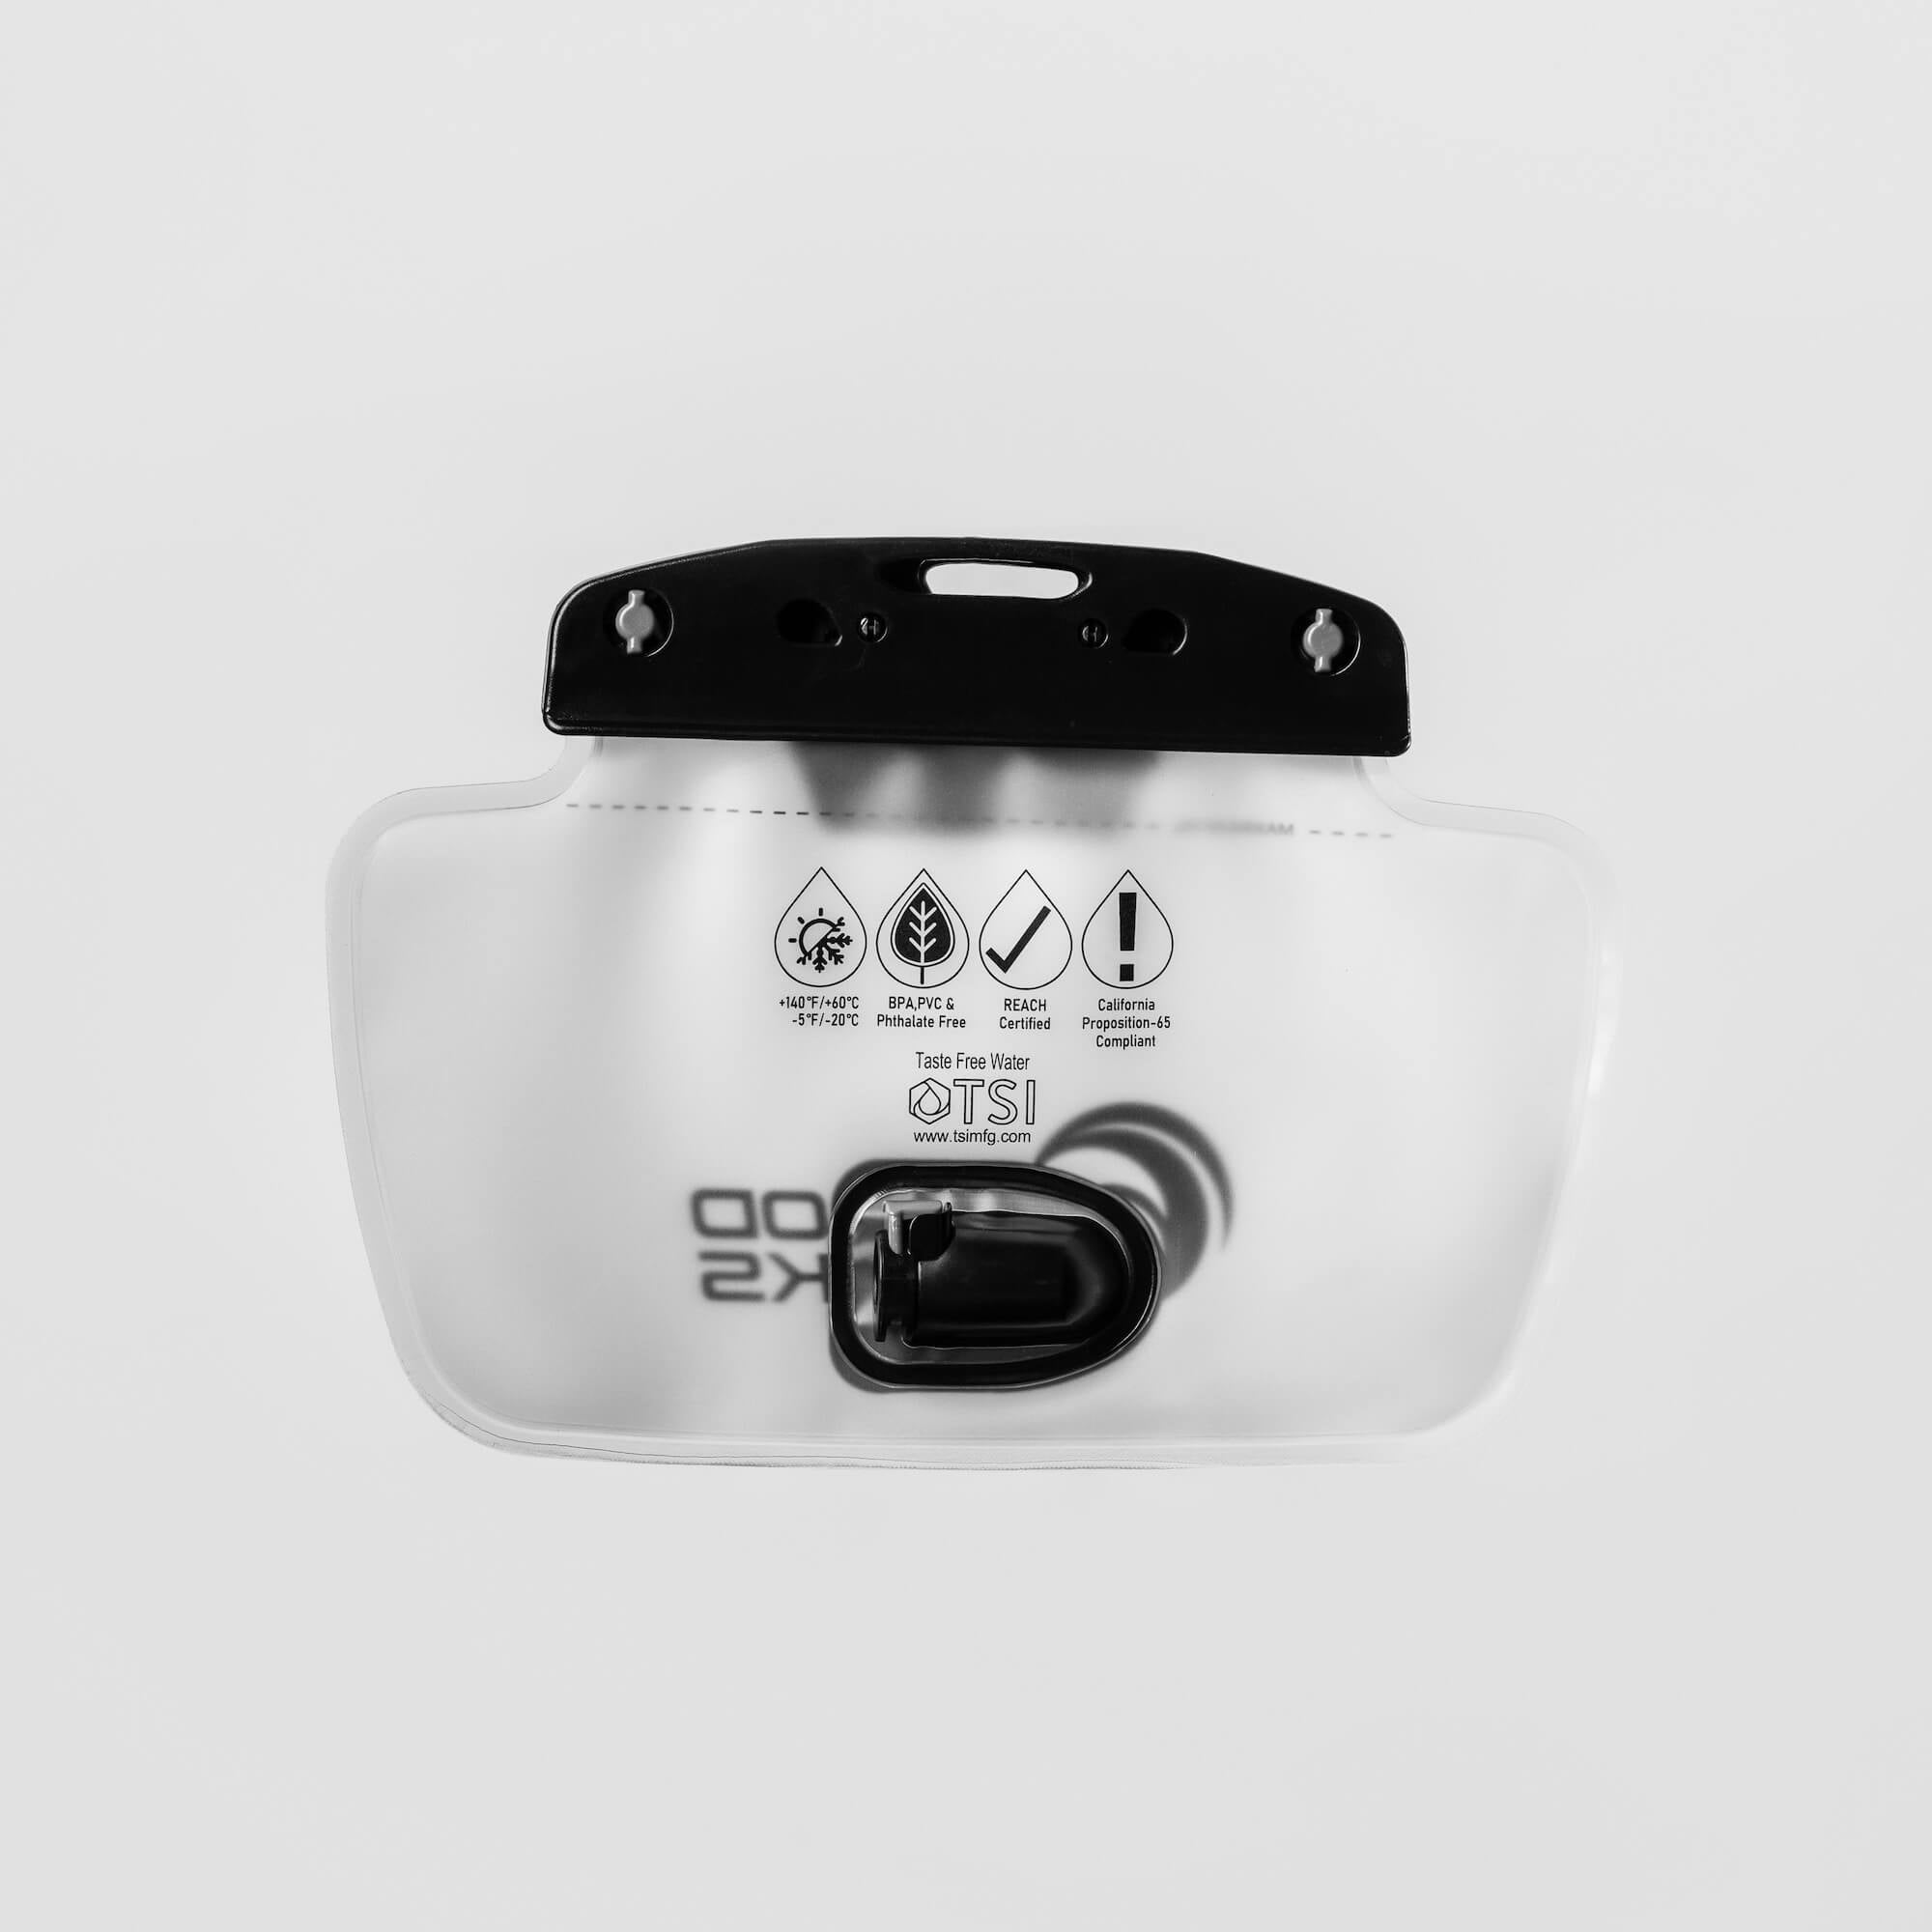
The hose connector snaps into place when inserted into the bladder port.
To release the hose, simply push down on the button to disengage the lock.
Quenching your thirst
The bite valve maintains a seal to prevent leaks when not in use. Just pop off the protective cap and gently bite down on the end while holding down the button whenever you want to take a sip.
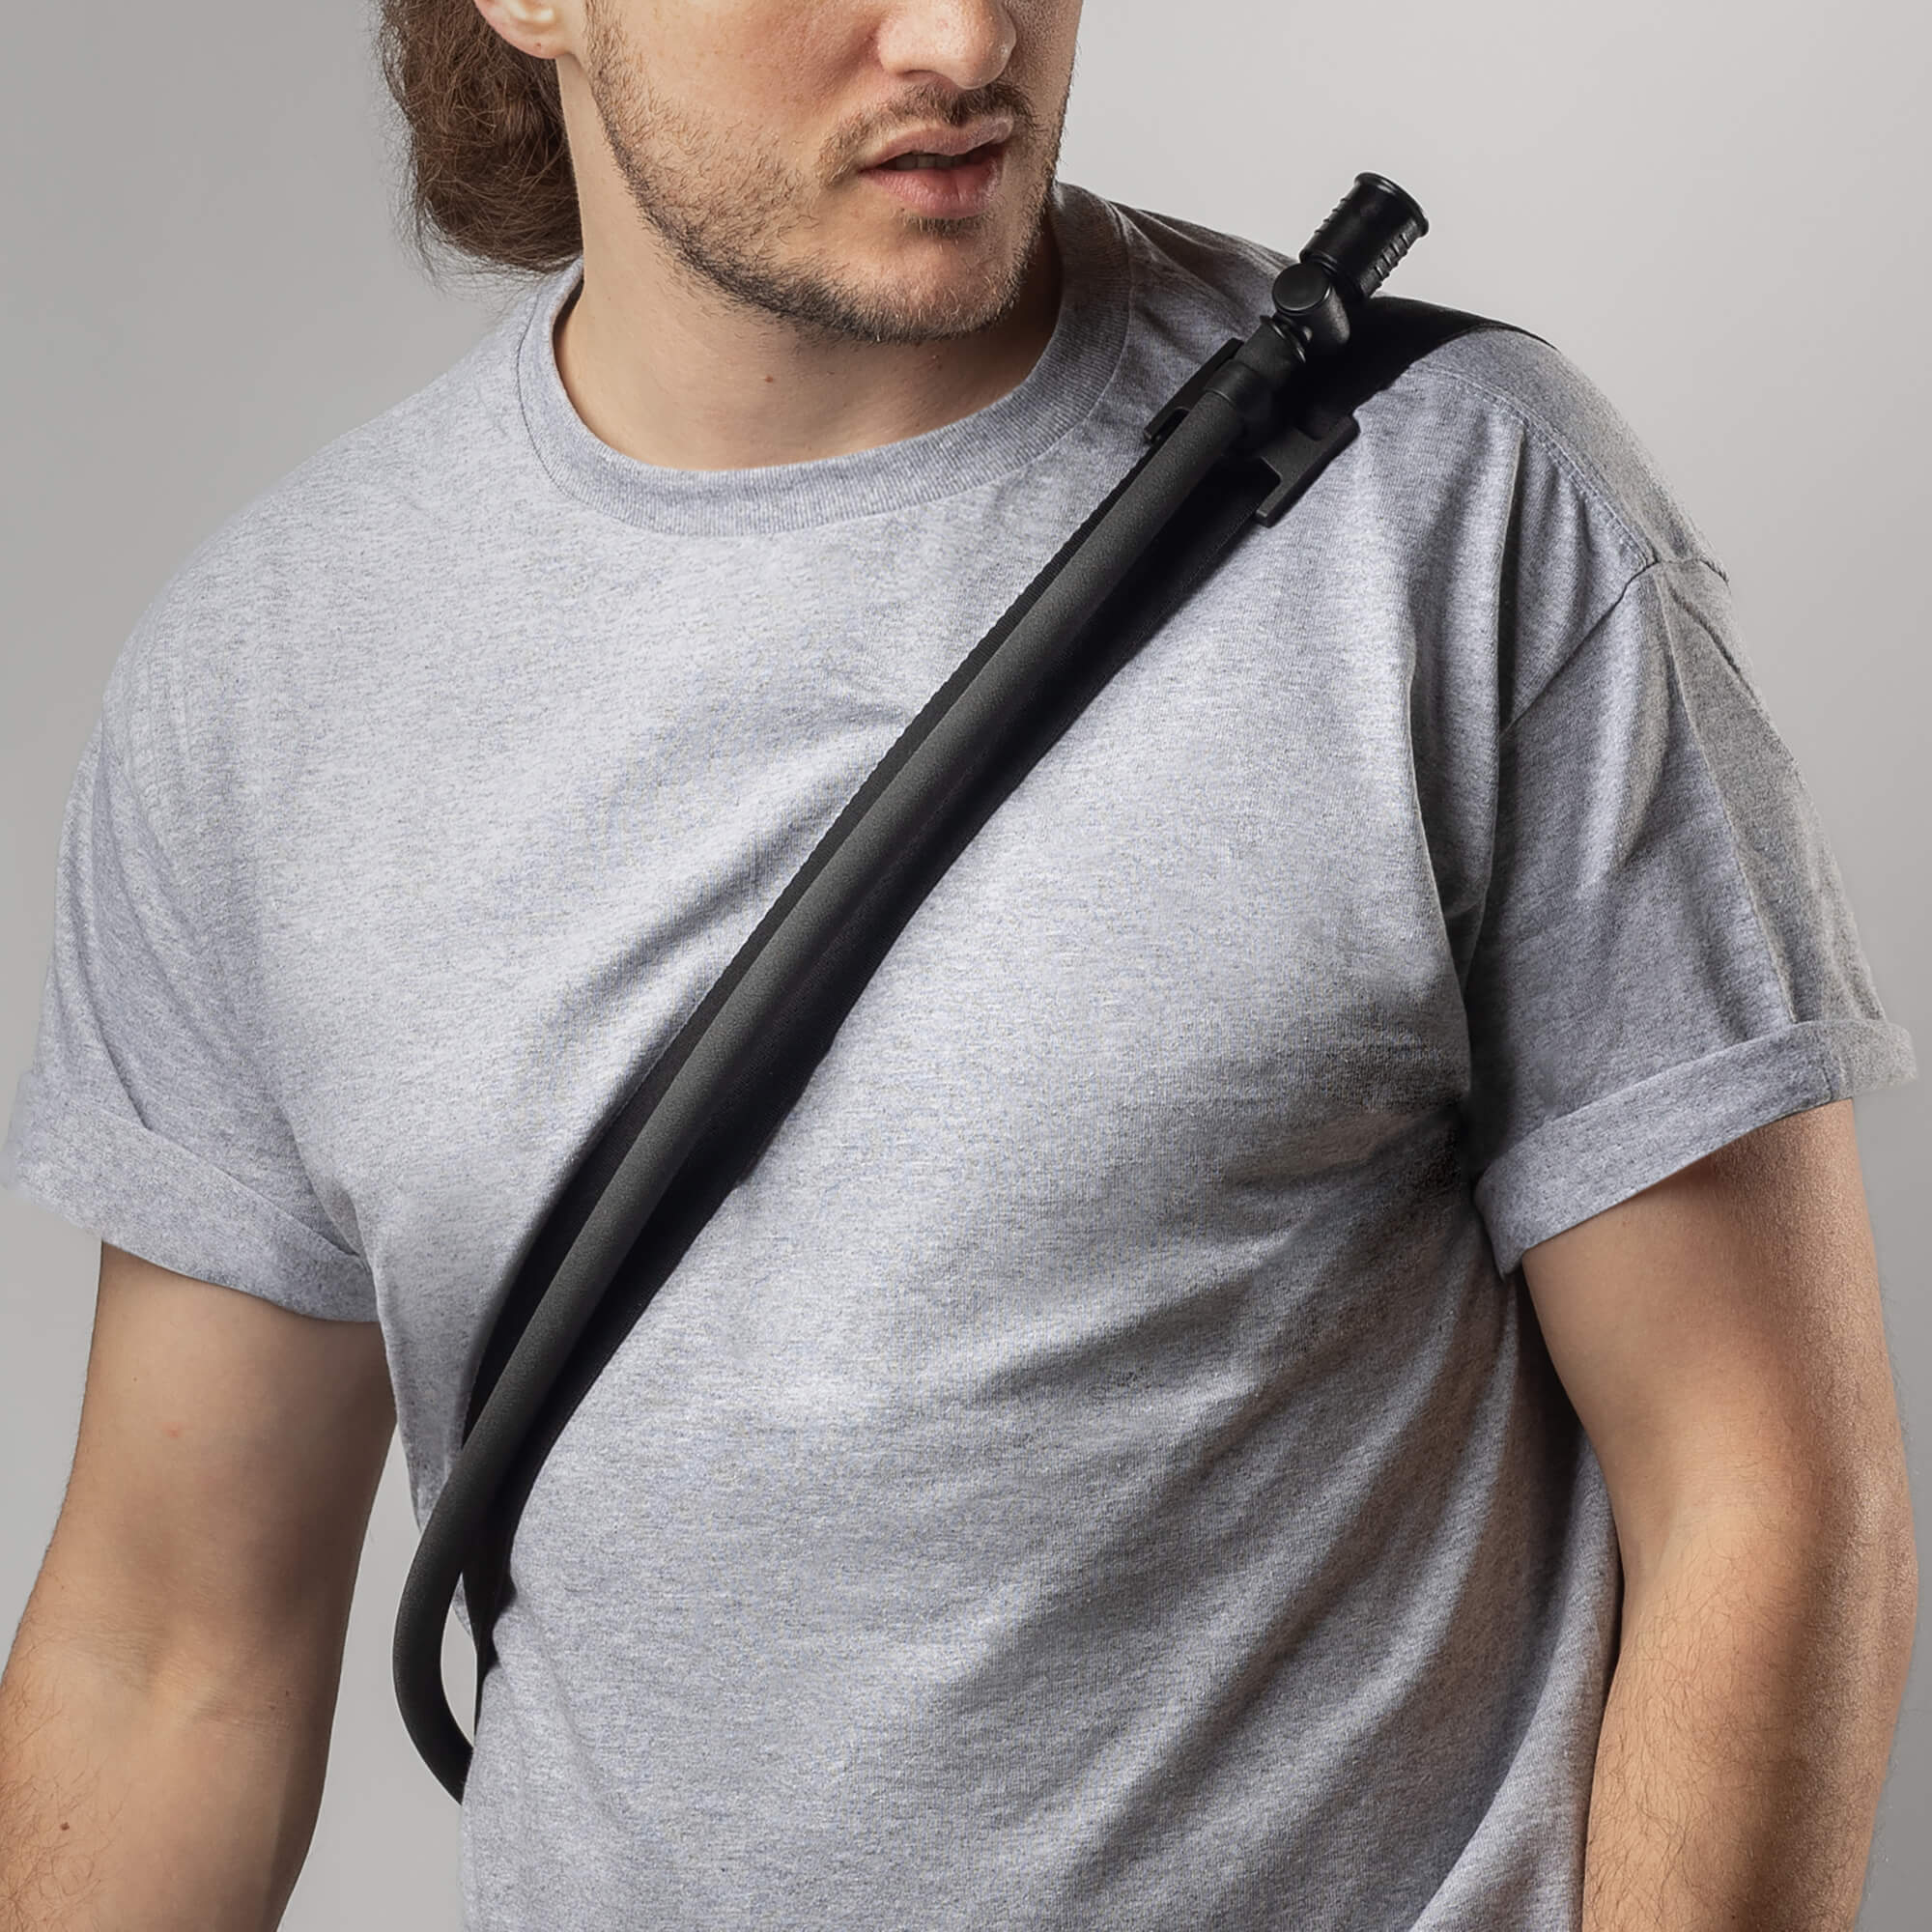
Use the magnetic clasp to attach it back in place on the strap of your pack - safe, secure, and out of the way.
Inside Your Pack
Ample Storage Space
Your pack has four zip-up compartments - one for the bladder, one anti-theft back pocket and two front pockets for everything else.
Bladder control
The largest compartment holds the 750mL bladder, and is lined with waterproof material to keep the rest of your stuff dry. It also has a safety clip that helps hold the bladder in place when it’s full.
Aside from the bladder sleeve, there’s still tons of room for larger items like your wallet, sunglasses etc.
Back Pocket
Tucked away on the back of the pack is an anti-theft back pocket - large enough to fit your phone or anything you want to keep safe. The pocket is invisible from the front so perfect for protecting your valuables from pickpockets.
In the middle
The middle pocket has plenty of room to keep your larger essentials like gum, a phone charger, pens, travel-sized lotion or sunscreen, plus a keyring makes quick access to your keys a breeze.
Front and Center
The smallest pocket is on the front of the pack, making it the easiest to access. Great for anything you want to keep handy, like ear buds, hand sanitizer, coins or anything else.
Simple, Clean Hydration
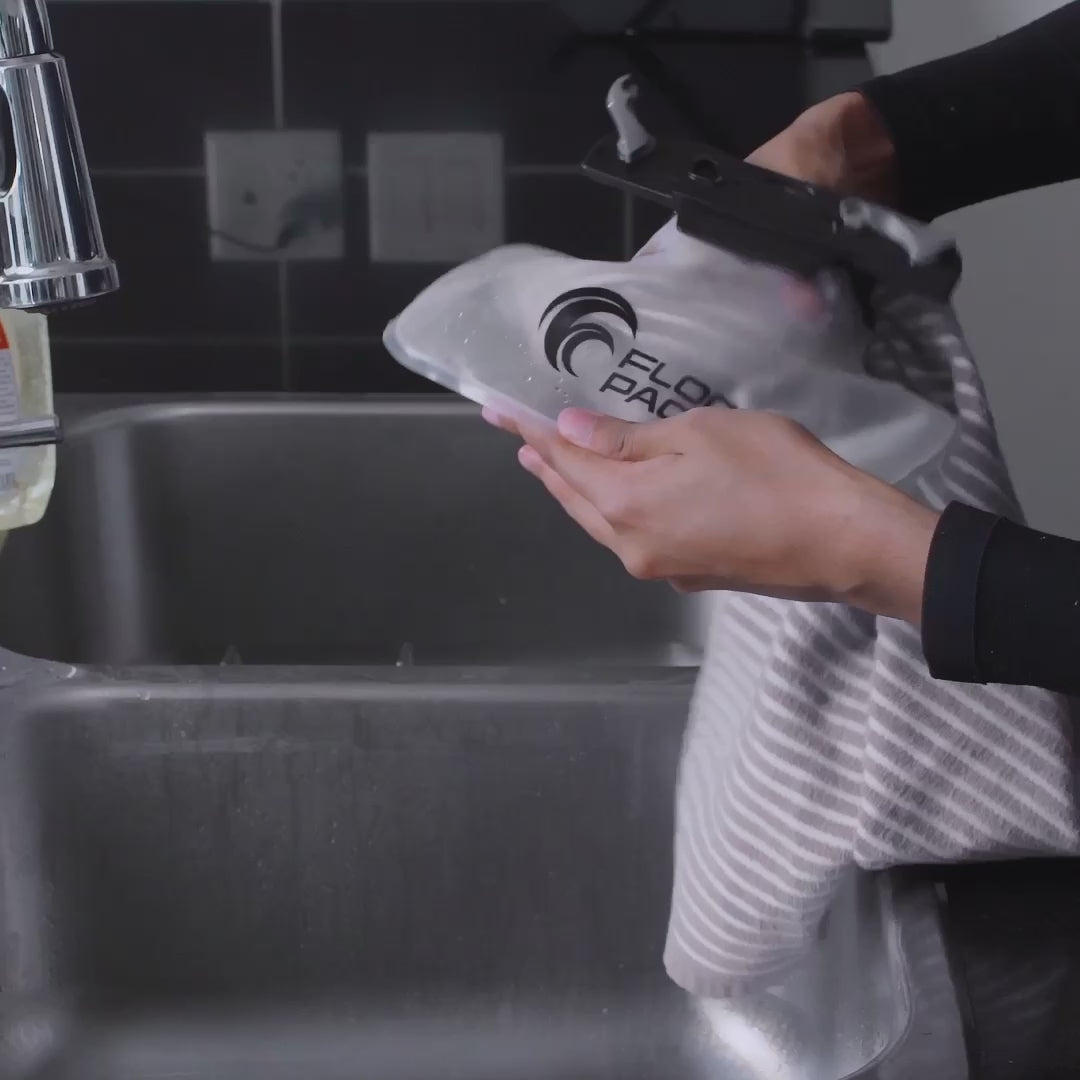
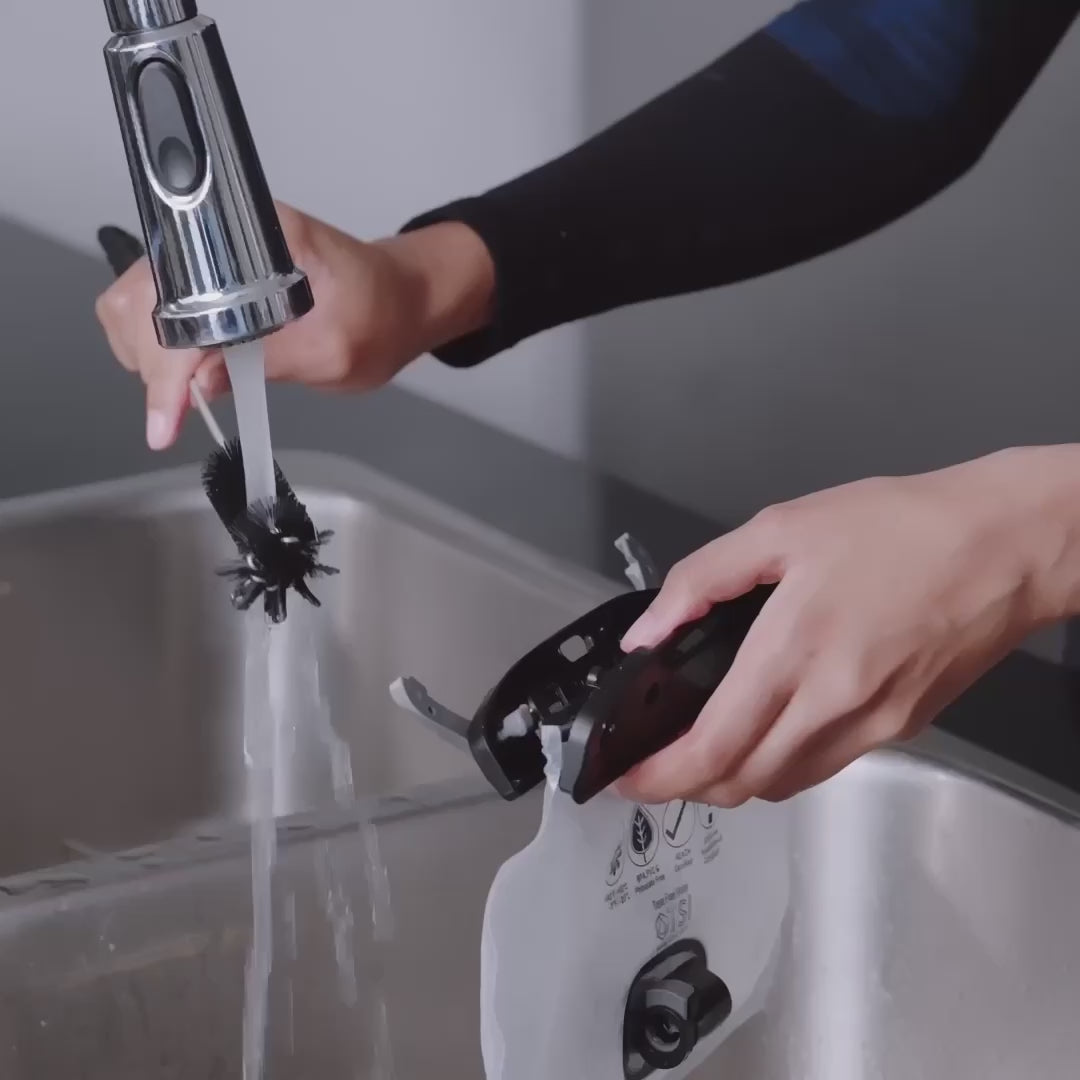
We recommend warm water and soap for regular cleaning of the bladder, hose and bite valve after use. Scrub gently with your choice of sponge or soft brush.
Cleaning Each Part
For the most thorough clean, each part of the hydration system is easy to separate.
Disconnect the bladder to remove it from your pack, then slide the hose out from the strap.
Twist the bite valve while gently pulling to detach it from the hose, then push in the connector to fully drain the hose.
Best Tools for the Job
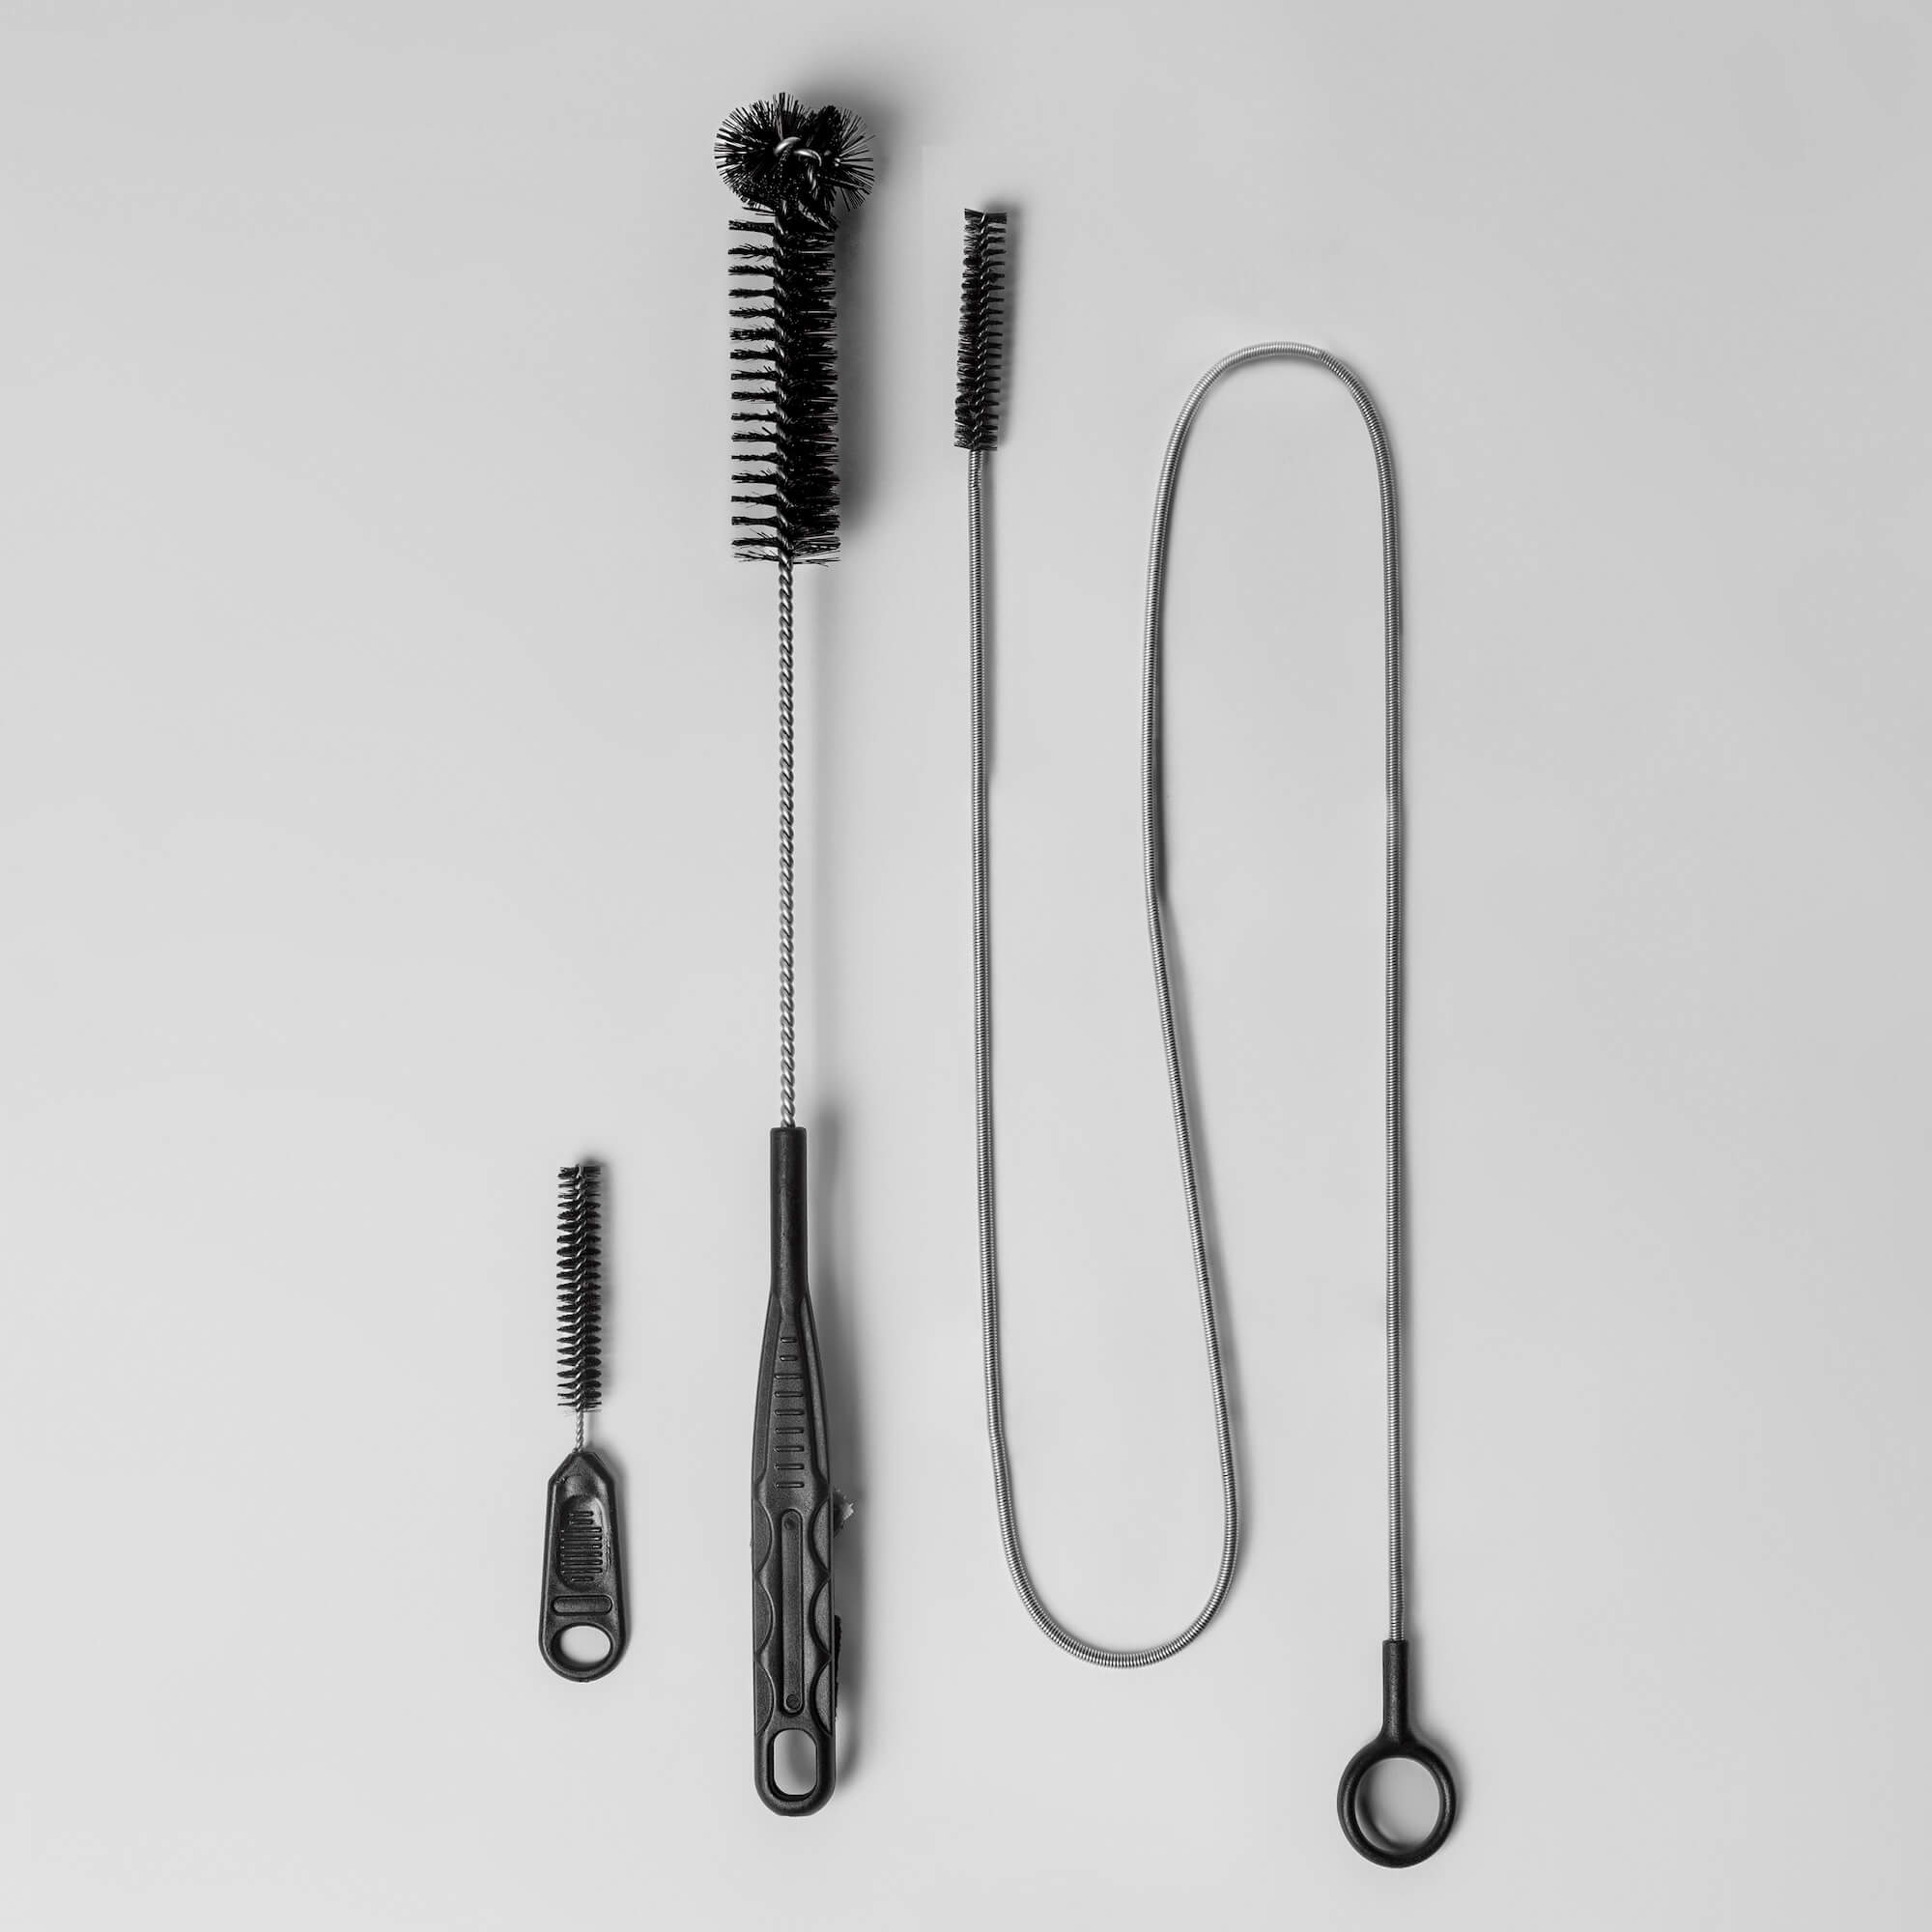
Our cleaning kit includes the ideal brushes for thorough sanitation, including a longer one made specially for cleaning through the length of the hose.
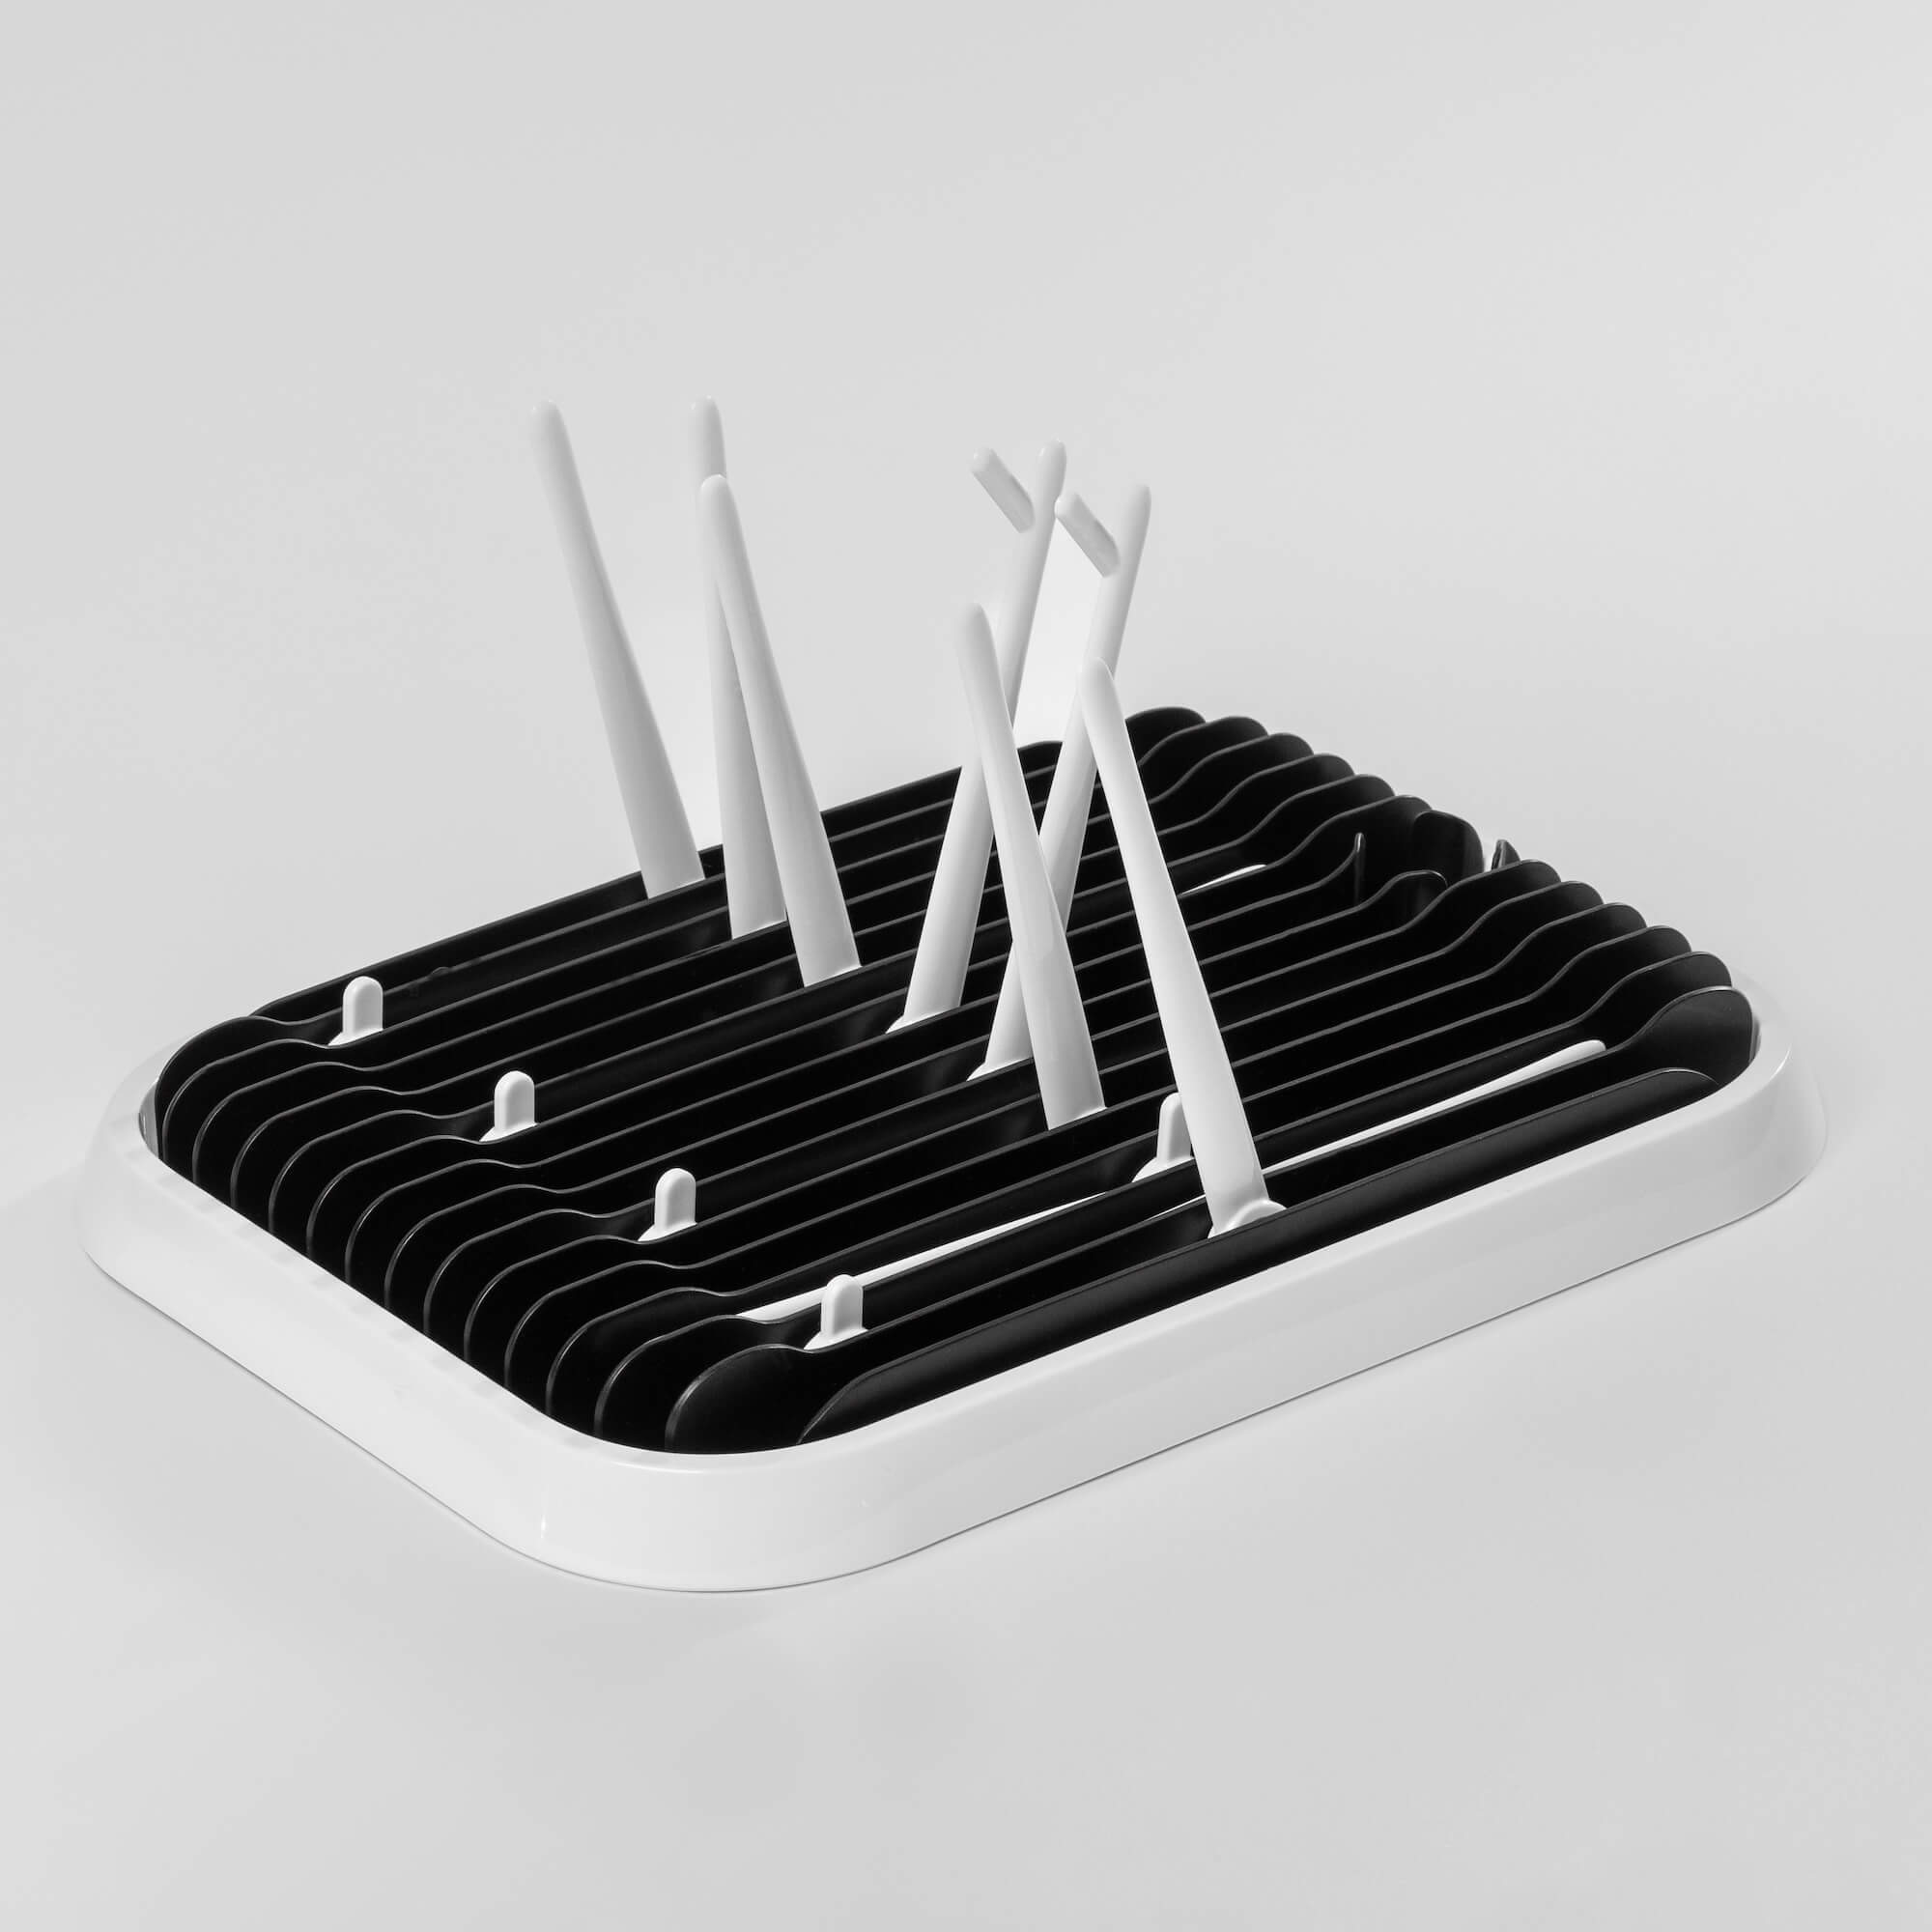
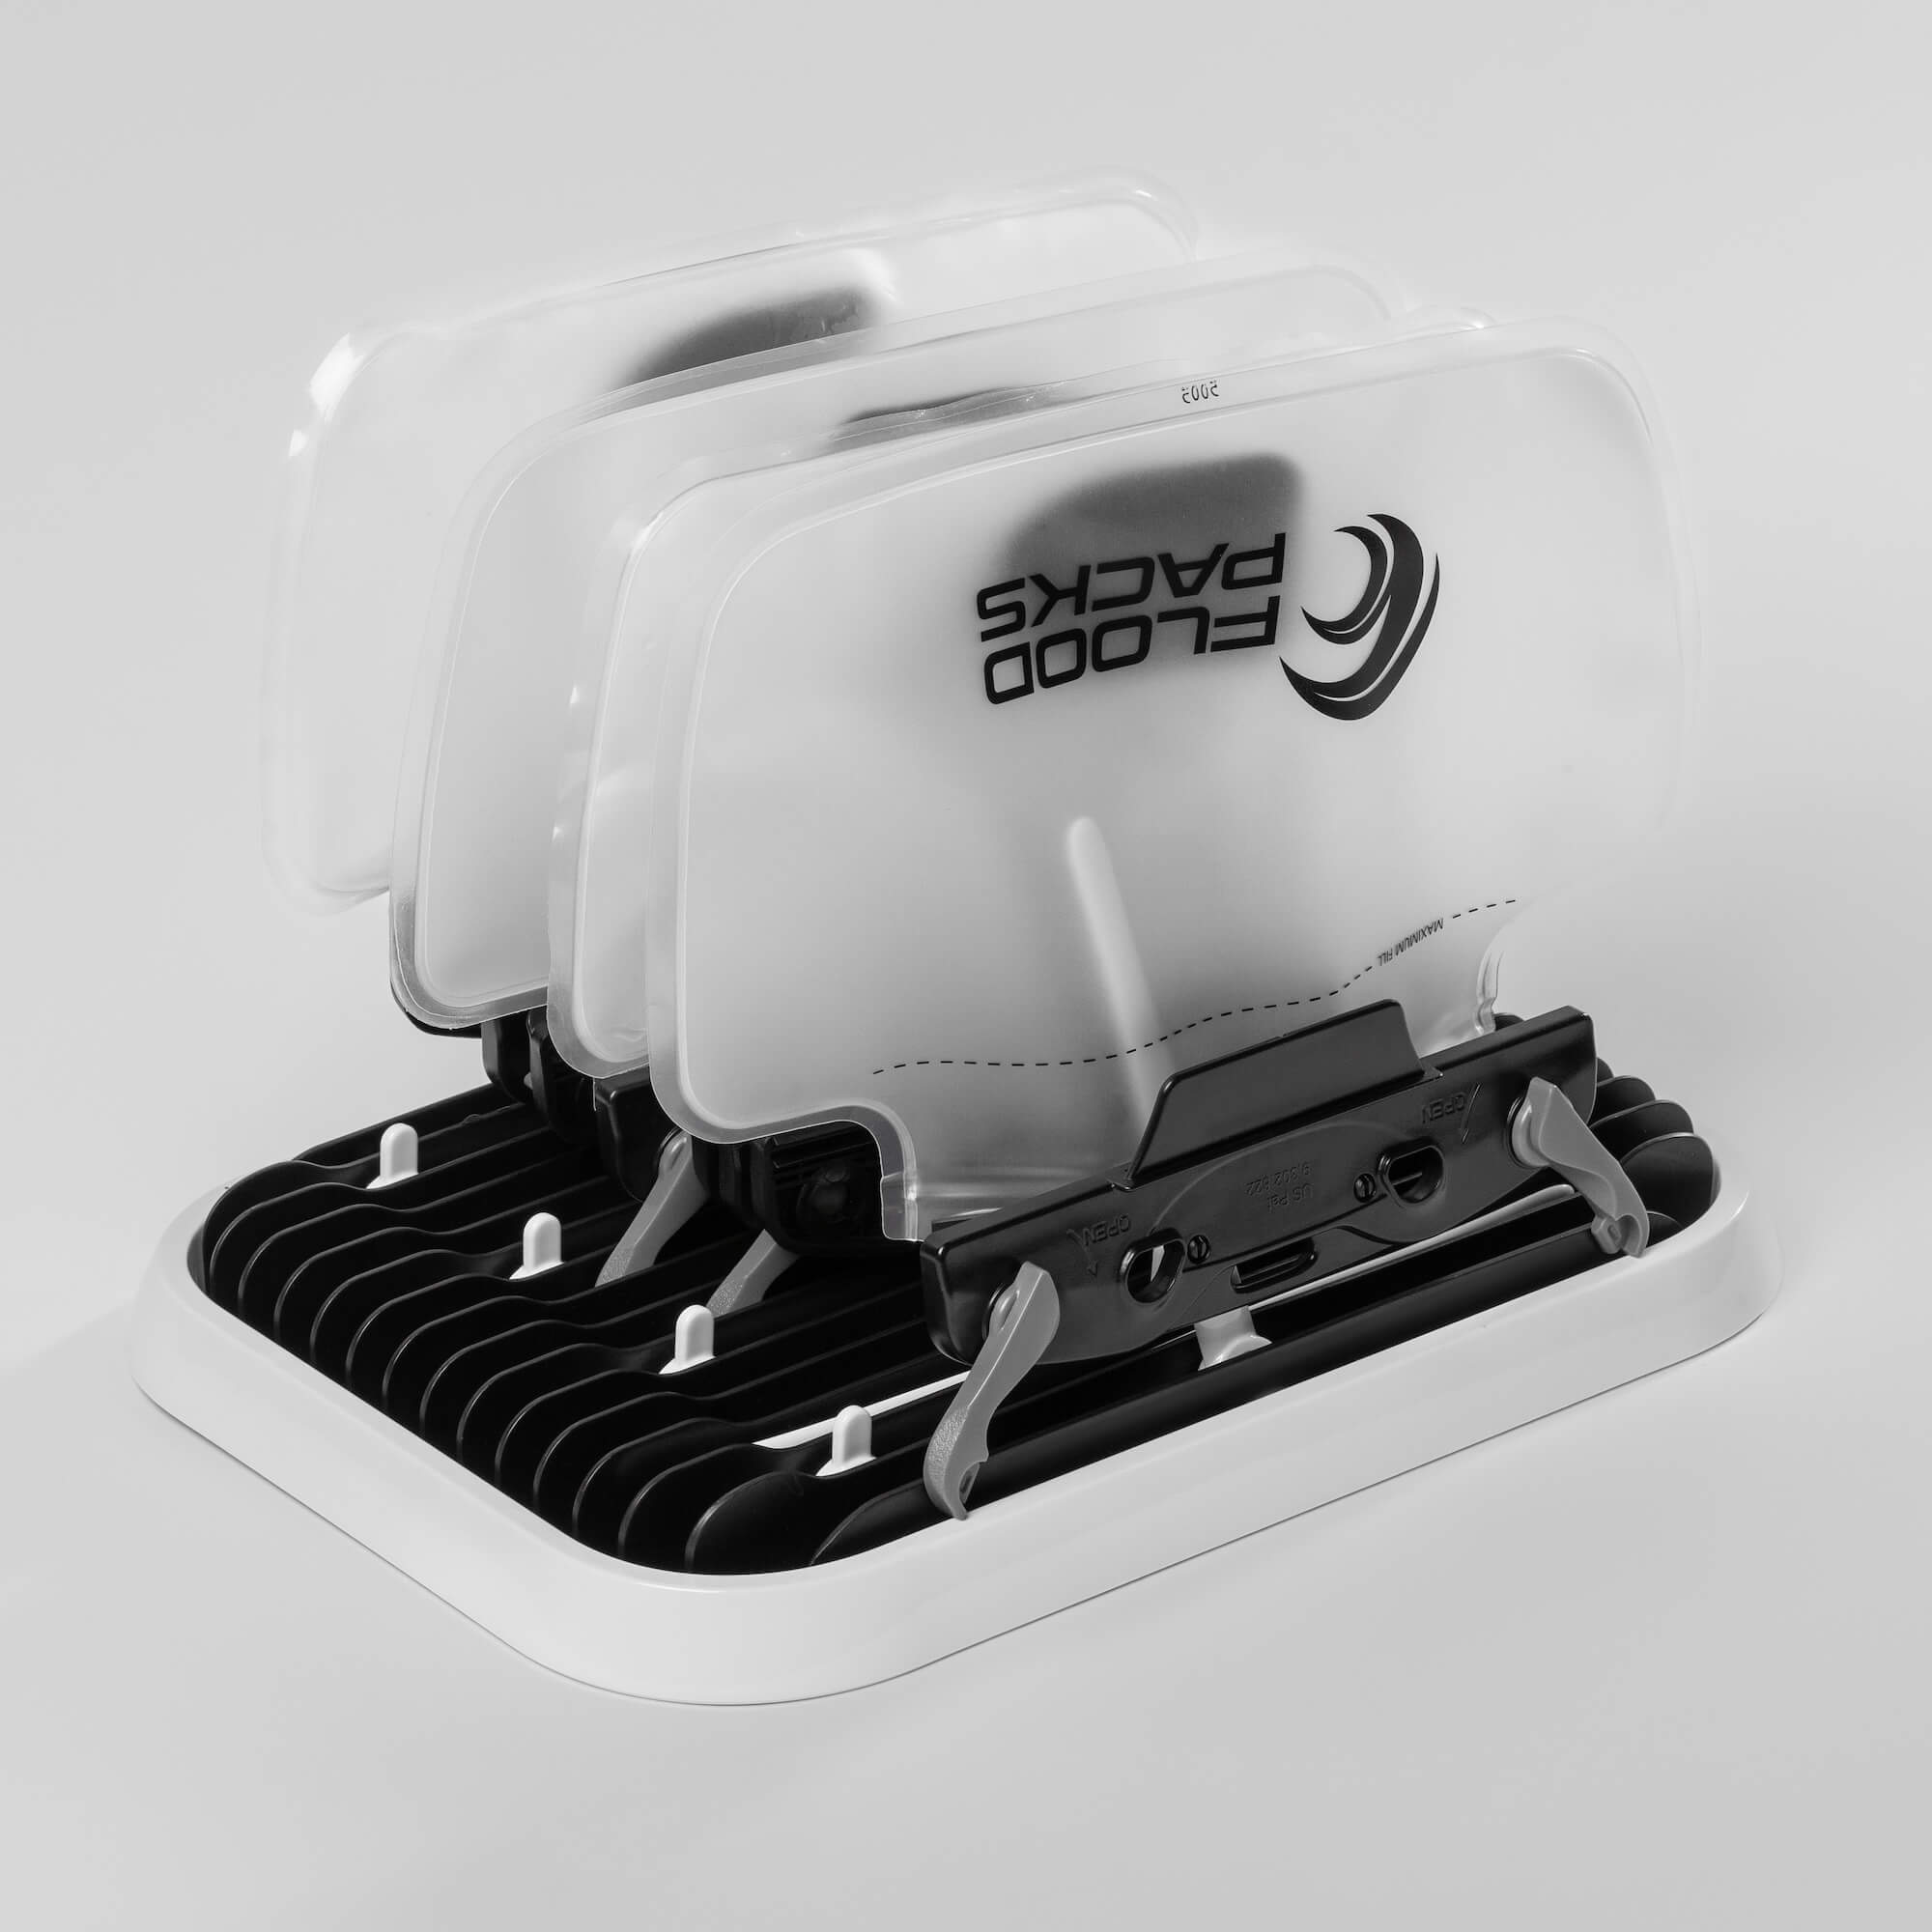
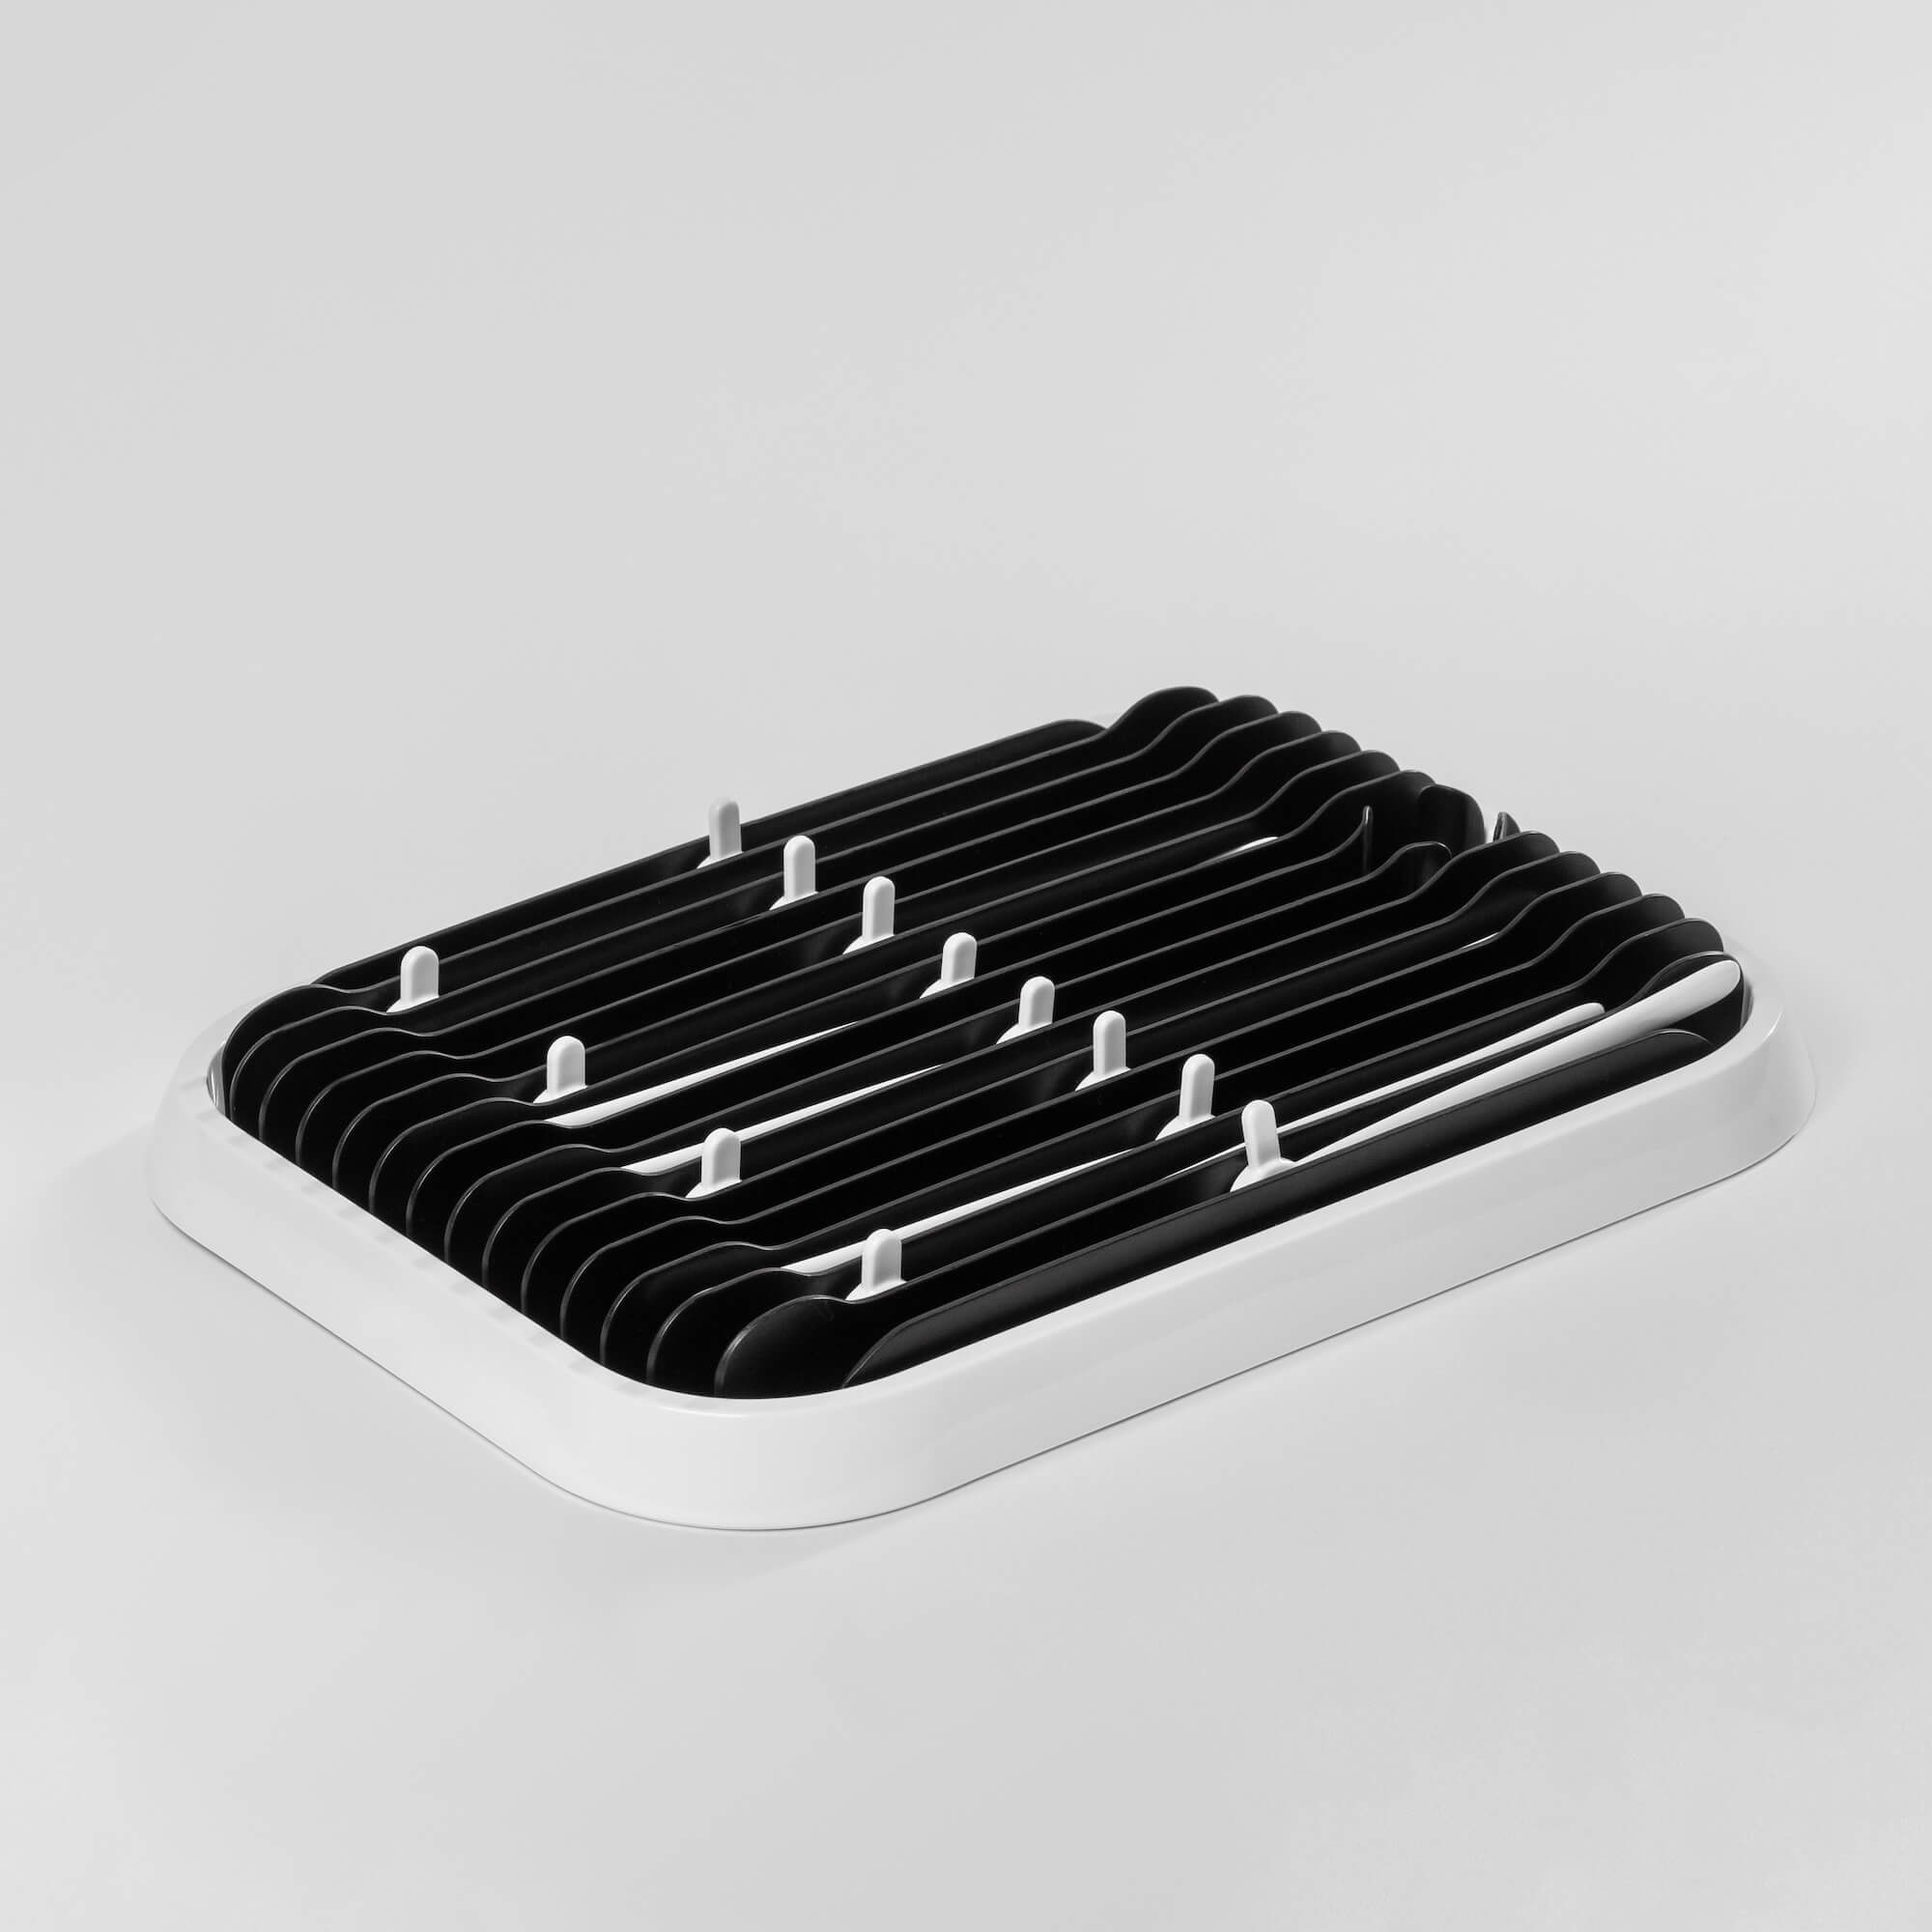
After washing your bladder, you’ll want to let it dry completely if not in use. Our bladder drying rack was made to prevent moisture buildup, which can become a problem if it sits long enough.
Washing the bladder
Hand-washing with warm water and soap is best, but it’s also safe to run through the dishwasher.
Cleaning the bag
The fanny pack itself might get dirty from time to time, so we’d recommend mixing a bit of soap with water and using a soft cloth to gently scrub any dirty areas.
For a deeper clean, remove the bladder, hose and all the contents of the bag and put it in your washing machine on a gentle cycle with cold water. Let it air dry.
What goes in your Flood Pack?
Accessories


